I’ve been in love with the idea of putting computers in cars since I was a teenager. The first instance was a Toshiba Satellite Pro laptop with a cassett tape to audio converter where Winamp would play my 128bit encoded MP3s. In college, I installed a P3 full desktop with AC power inverter, S-Video LCD display and a hacked up keyboard to 4 push buttons. It was fun, but I learned a lesson about hard drives and shock absorbtion, and the value of read only file systems. The next car skipped the computer and just focused on radio equipment, such as CB Radio and HAM radios. Once that car passed into the highways up North, I transitioned all the radio gear into the next and started getting interested in a carputer again due to new embedded systems such as RaspberryPi’s and ODroids started making somewhat of a computational impact. But alas, this vehicle never got the full computer kit install, as our family expanded and we needed something bigger.
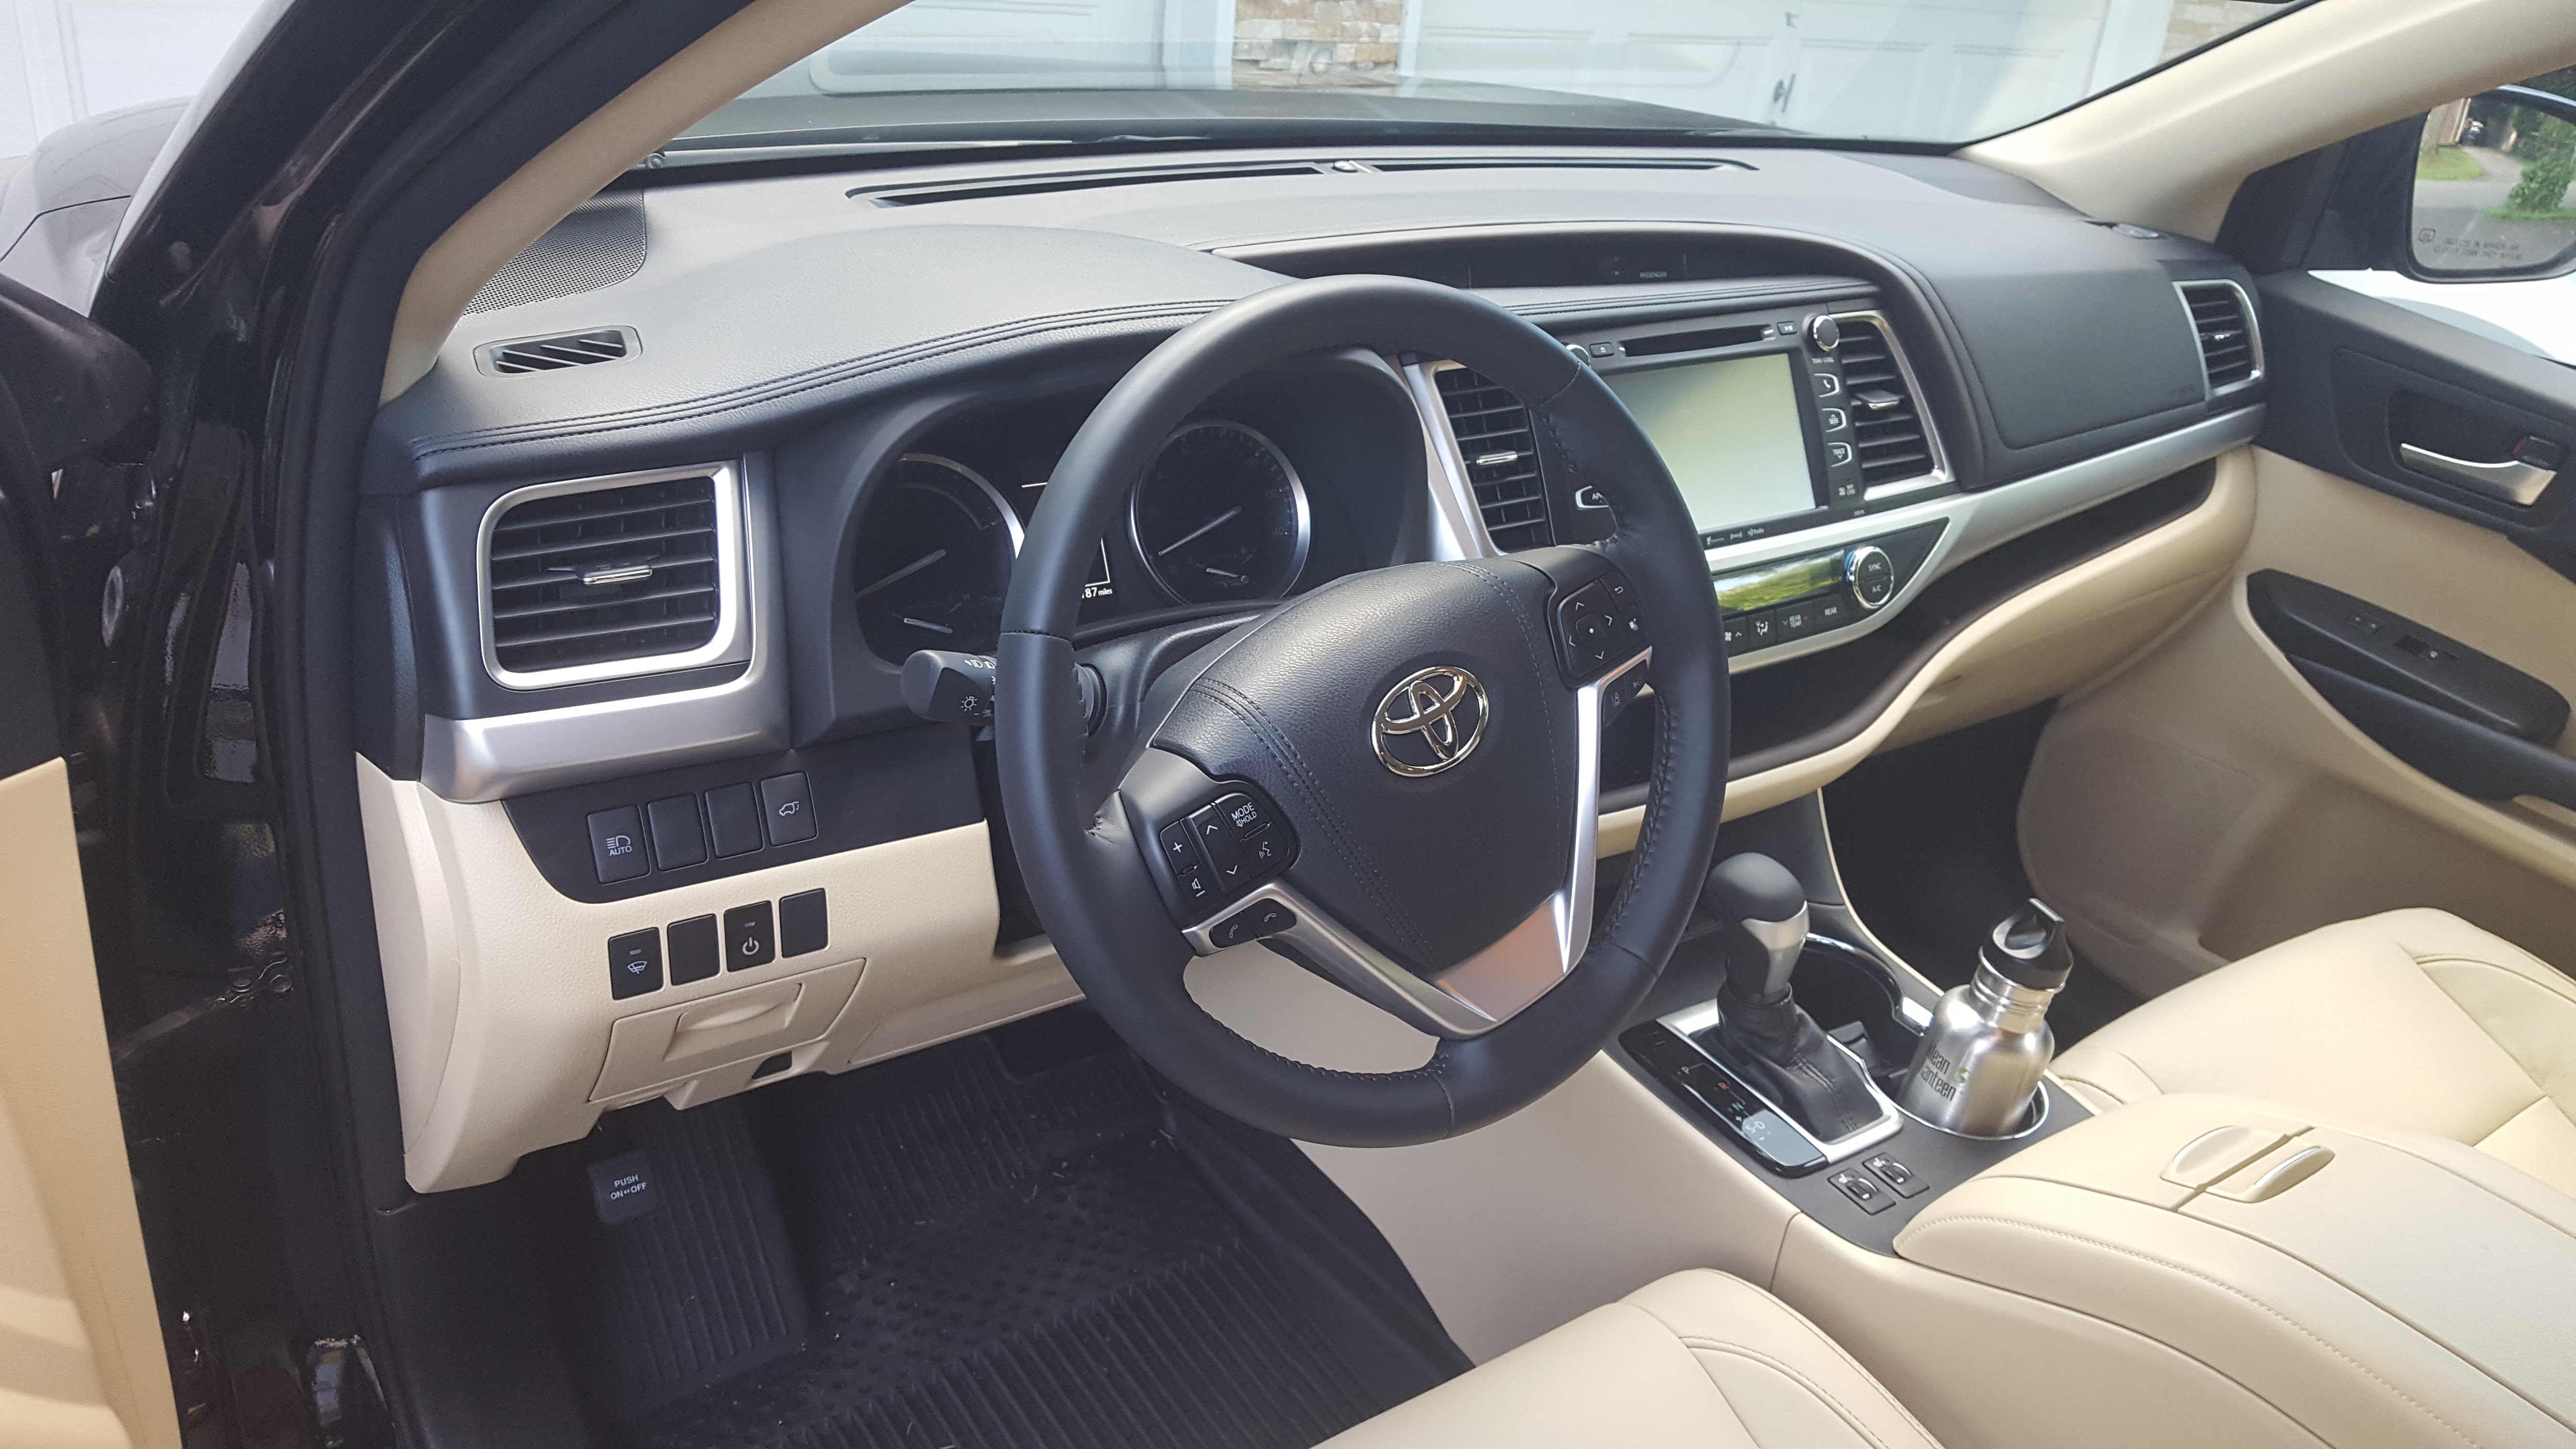
This writeup is a chronical of installing my radio systems and a new carputer into a 2018 Toyota Highlander Hybrid. Hopefully there may be something in here that would be of value one way or another. My build requirements are:
Safely interoperate with existing vehicle systems
One master switch to shut down all modifications
Carputer with Kismet, Movies, MP3s and in-vehicle entertainment
Wi-Fi and Internet
Core Components Needed
HAM/CB Radio Equipment
Intel NUC
RaspberryPIs
Sierra Wireless Raven RV50
Antennas of various sorts
Fuse Taps
Anderson Powerpole Distribution Block
A rhobust vocabulary
Bandaids
Trim removal kit
Drills and bits
Push sticks
Victory beer
Security blanket
Let’s get it on
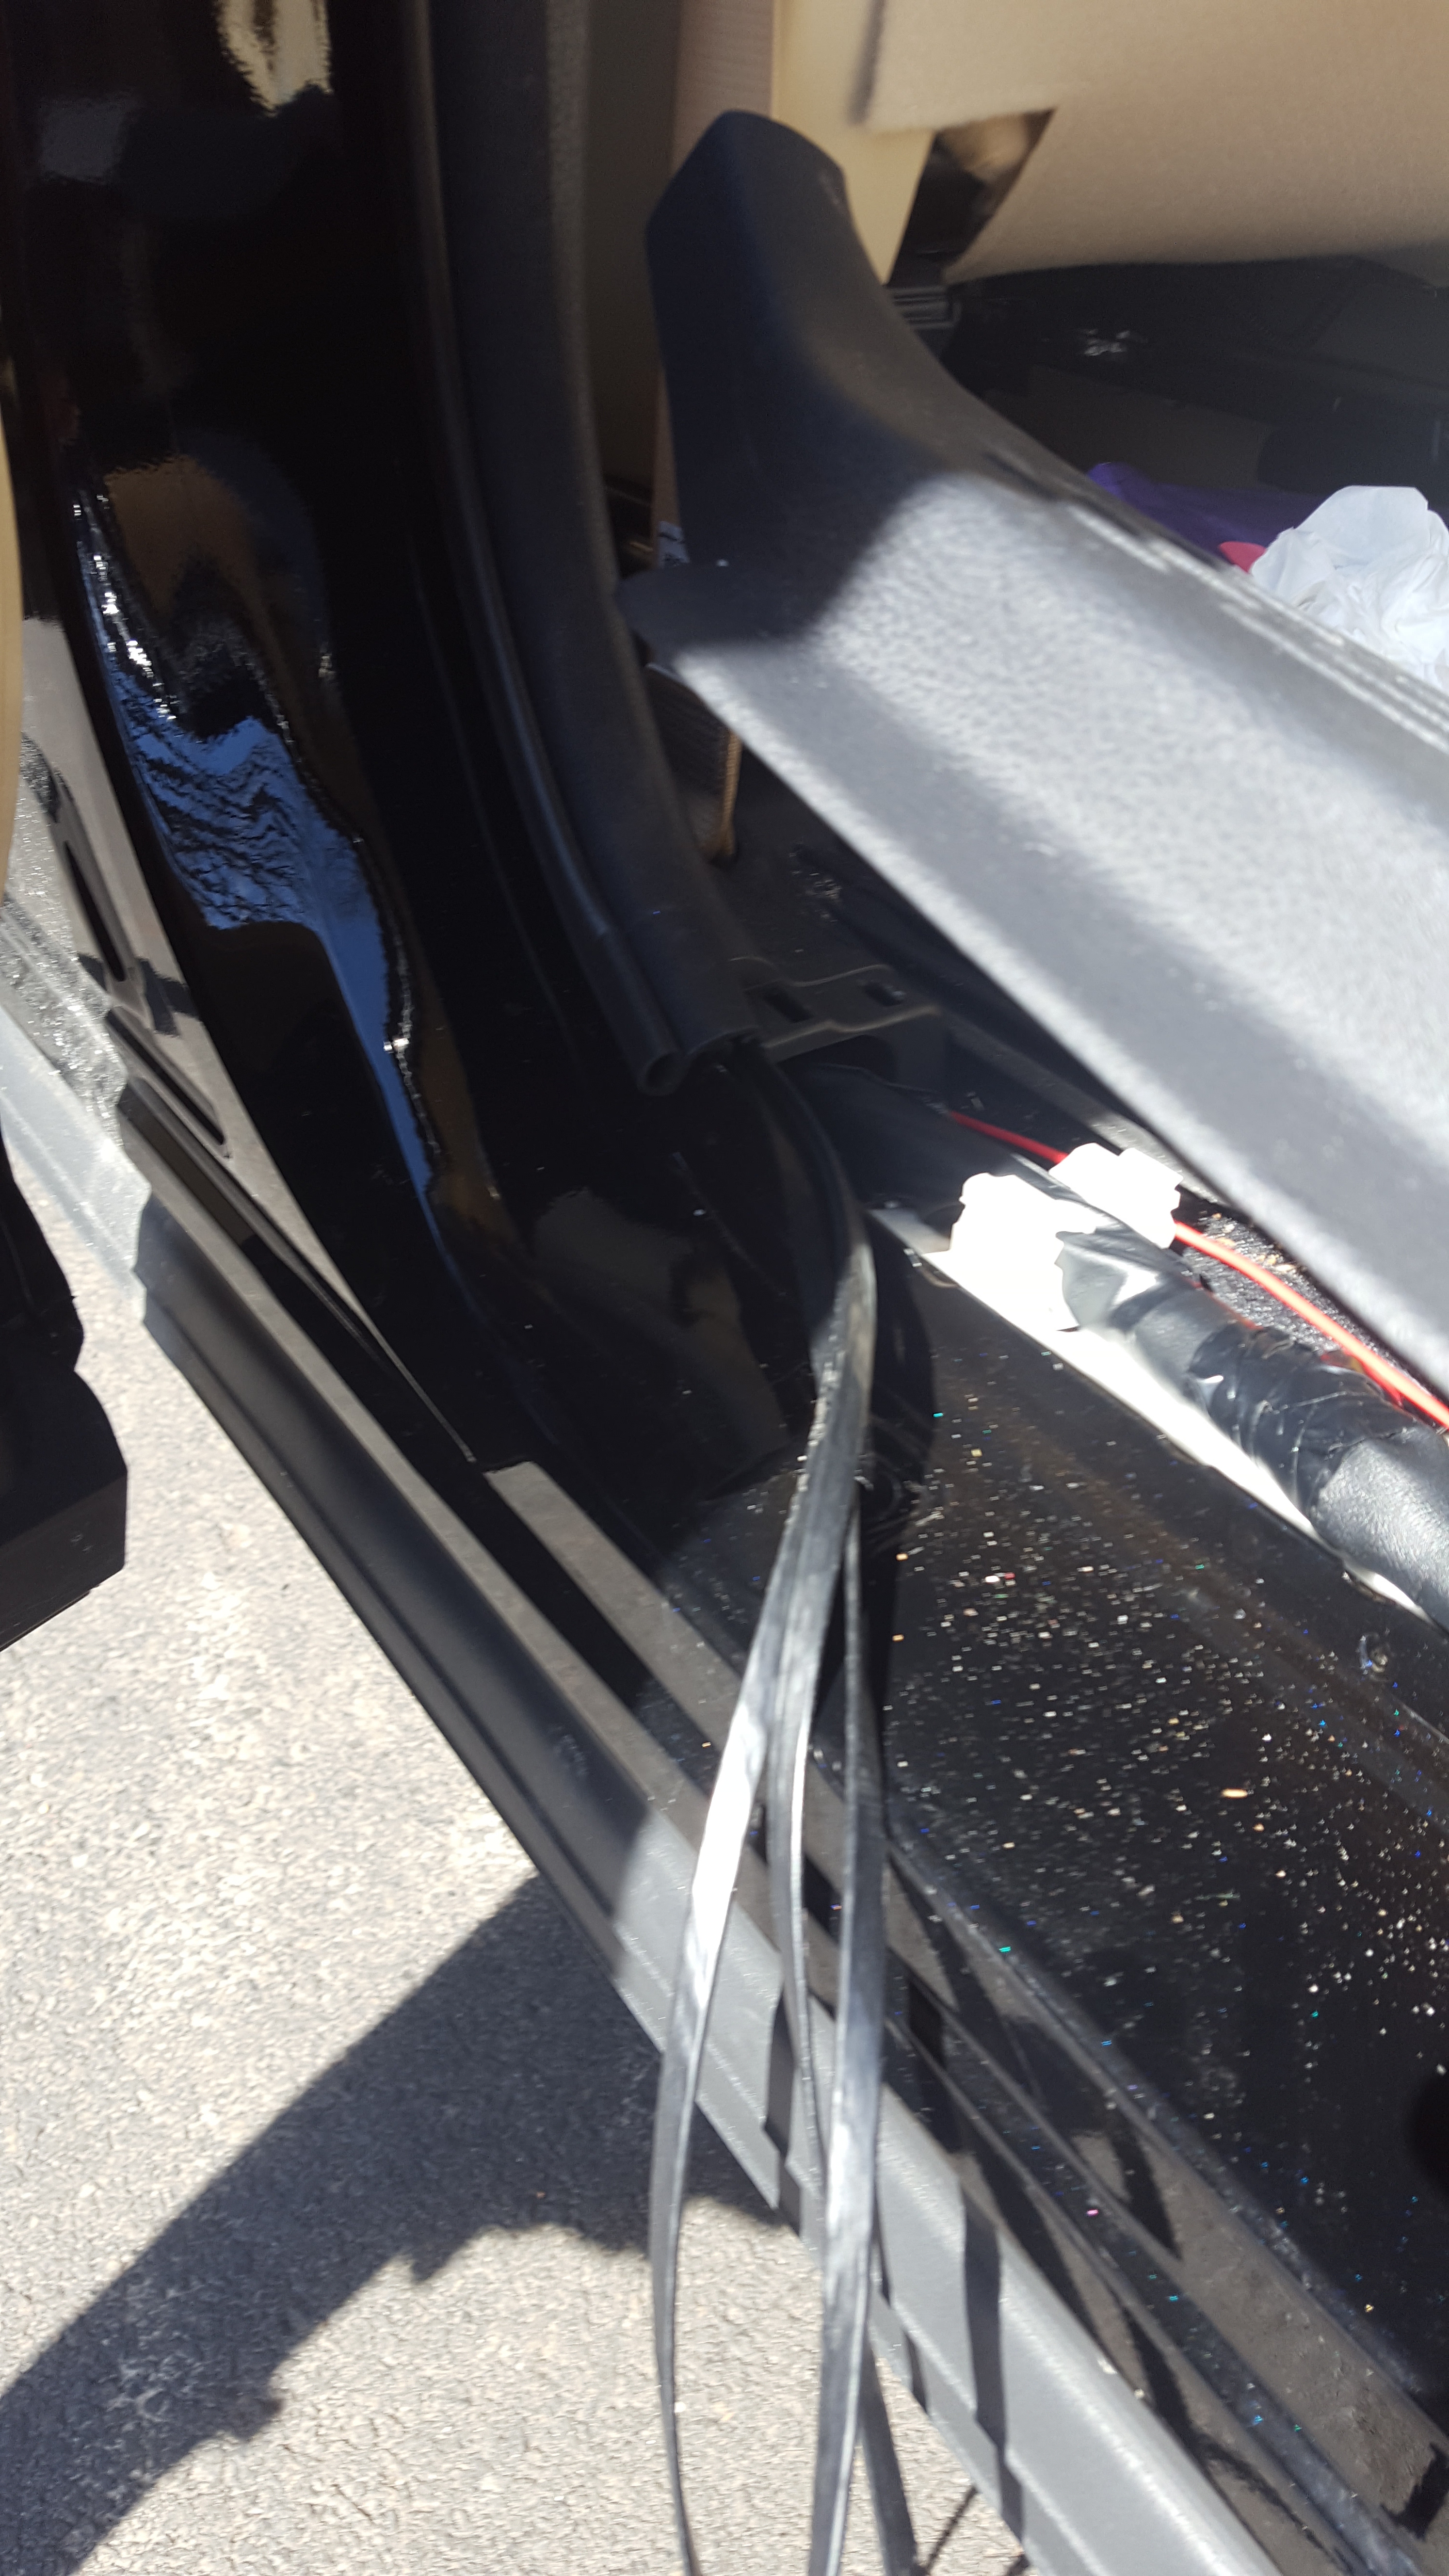
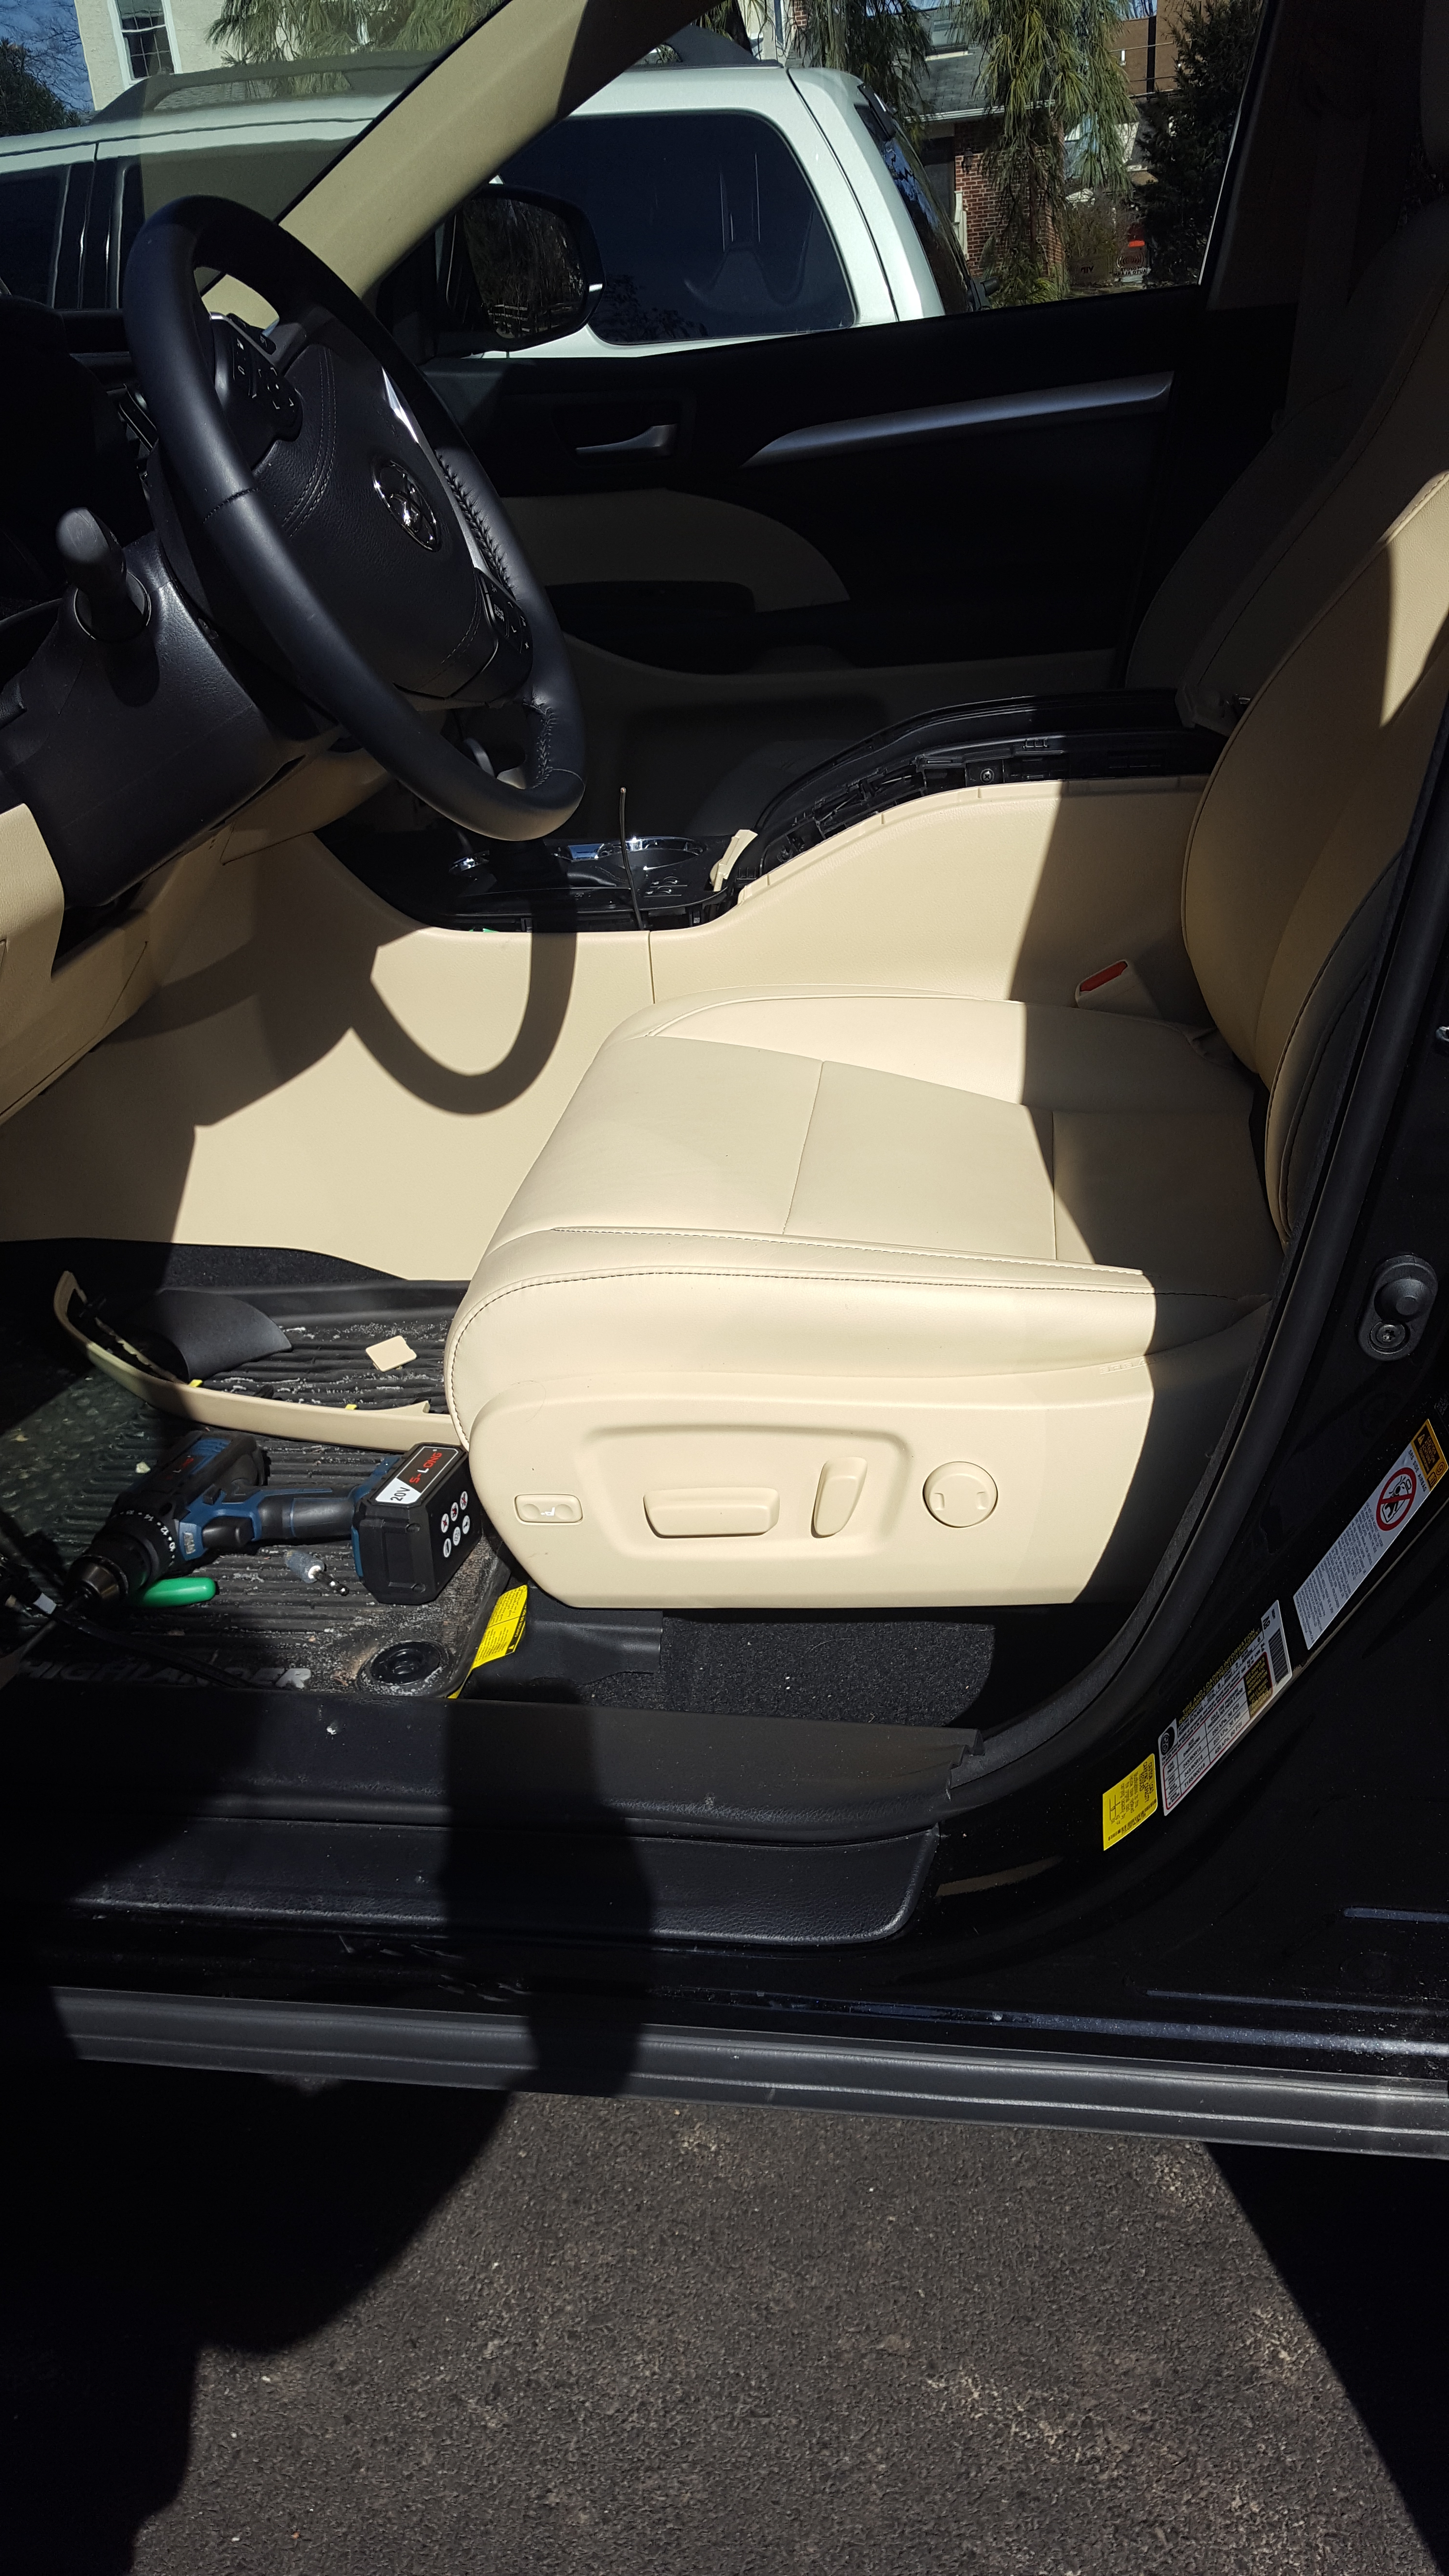
I first looked into videos of how people take apart the trim and such of their highlanders, and didn’t find much that was useful. But what I did learn is that everything snaps; a good tug will pull things apart just fine. Use a vehicle trim removal kit to ensure that marks are at a minimum.
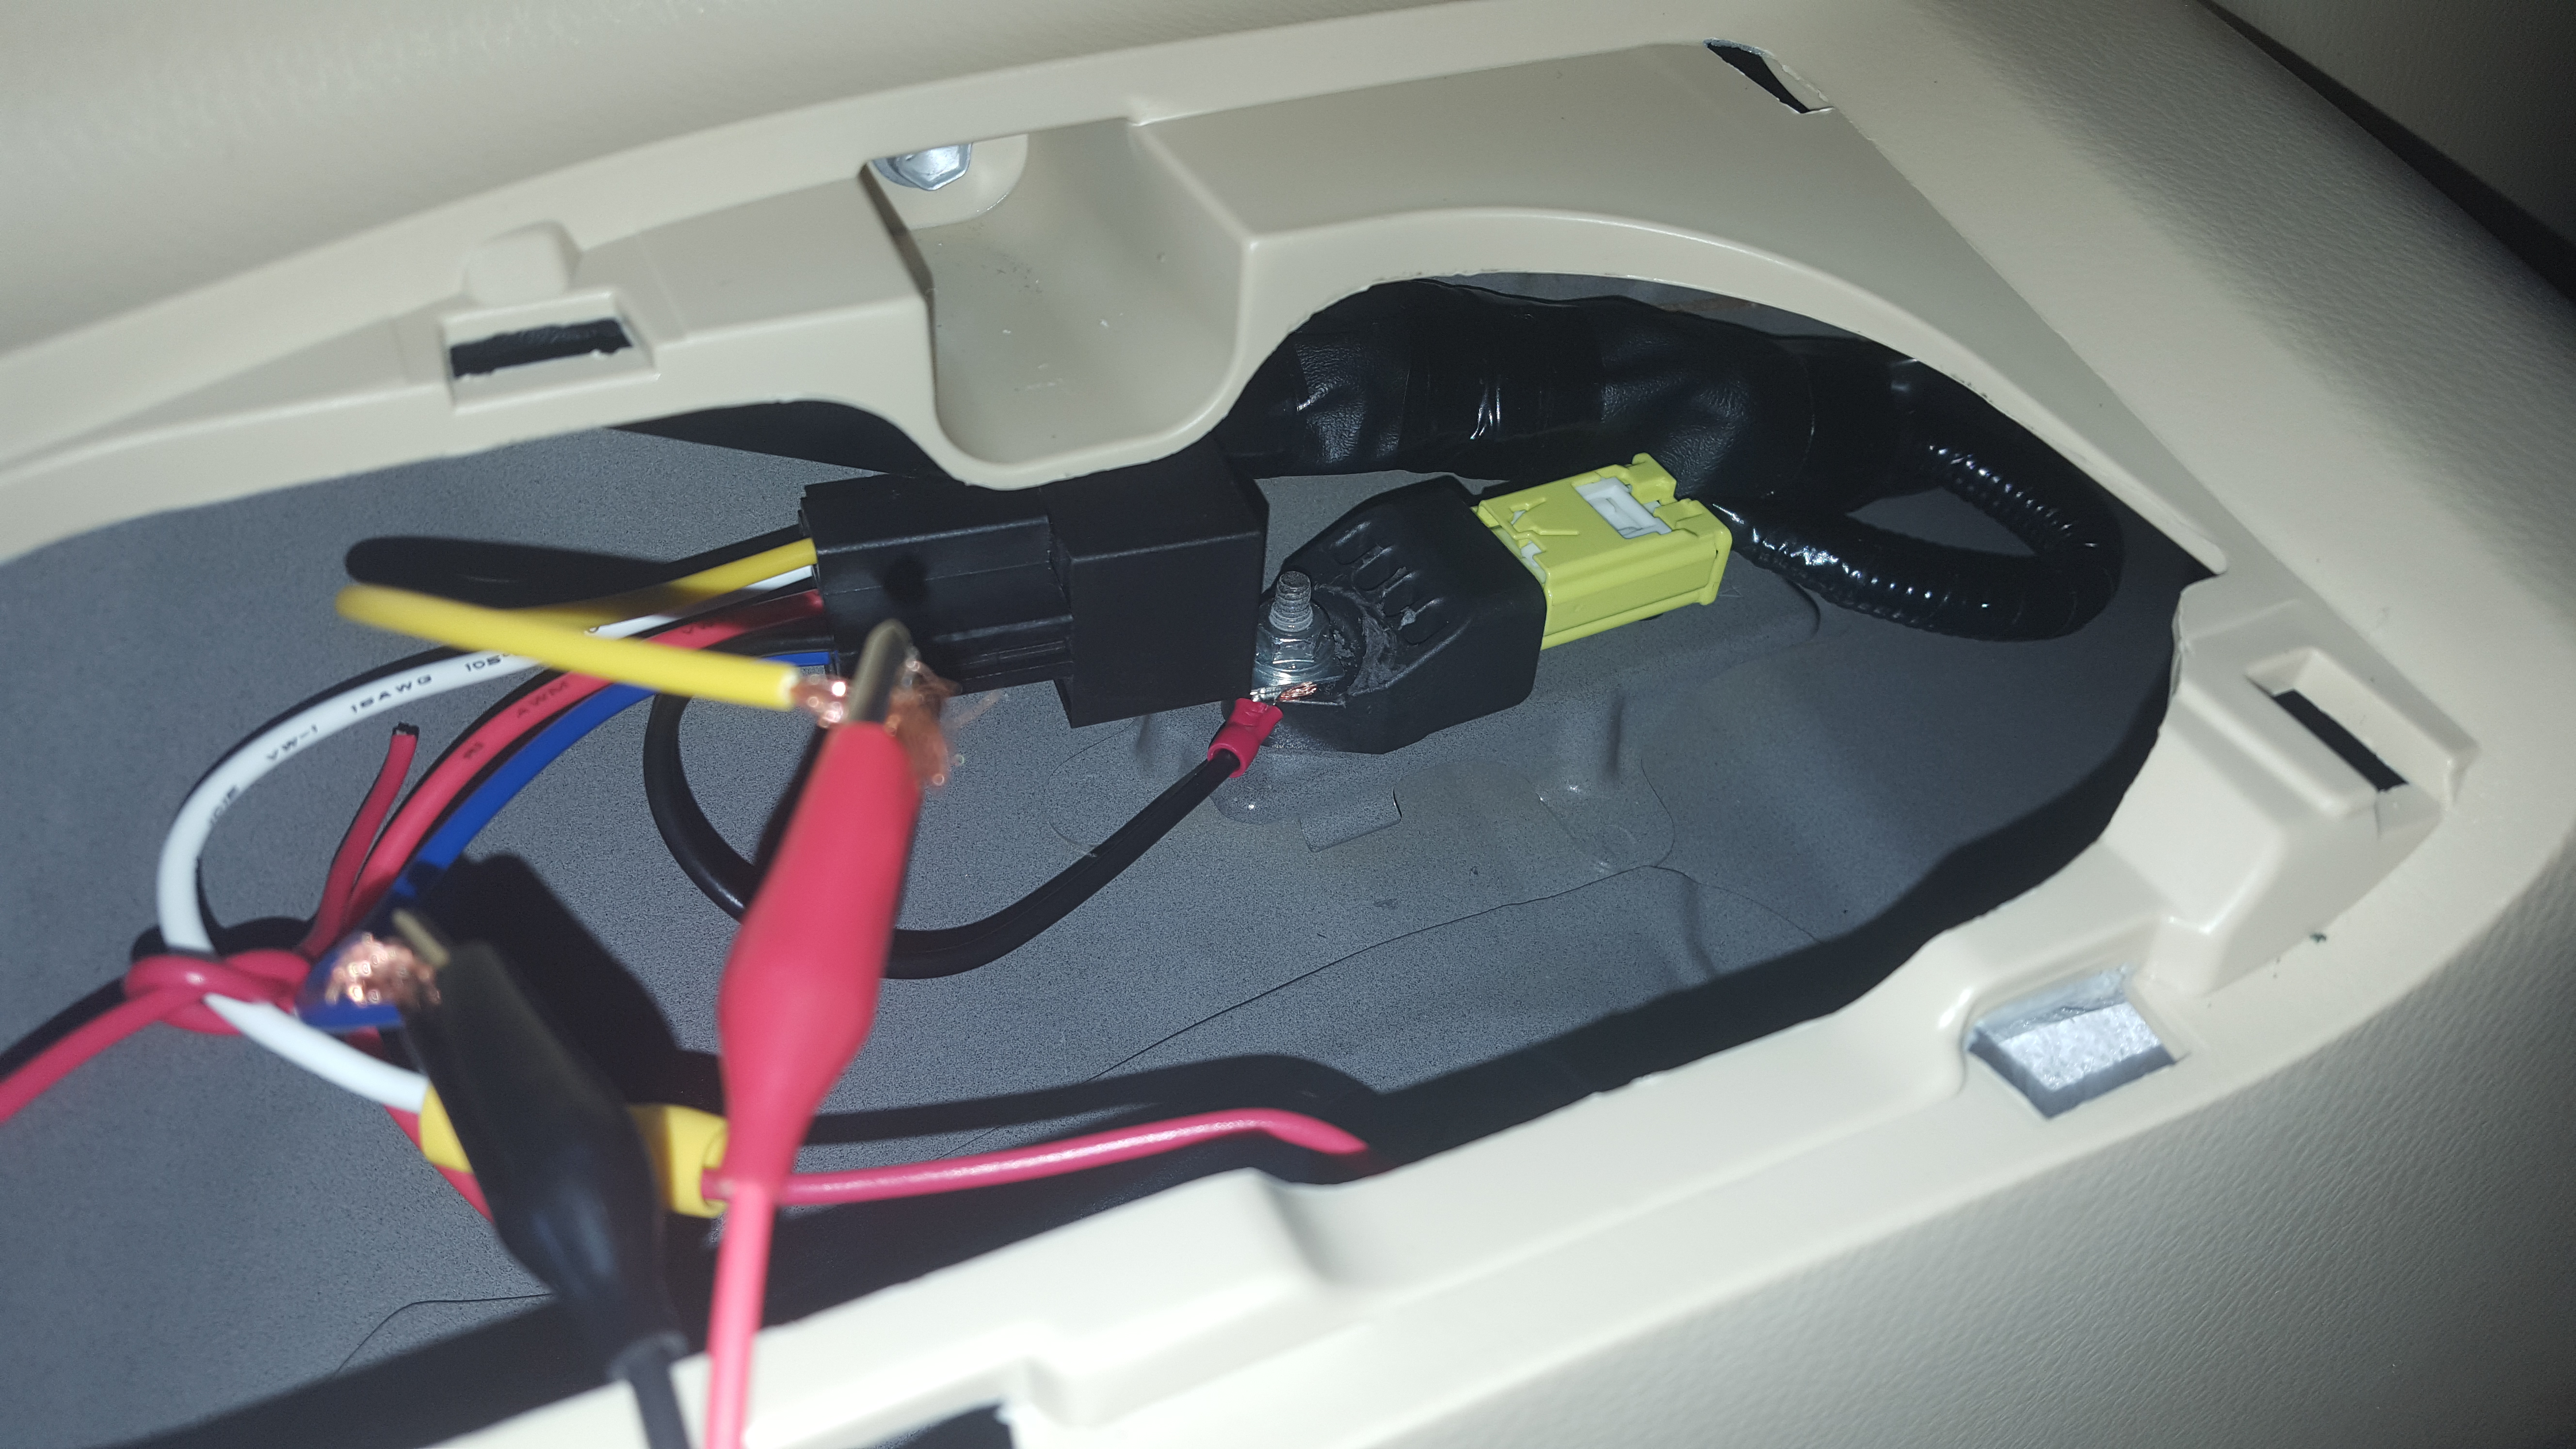
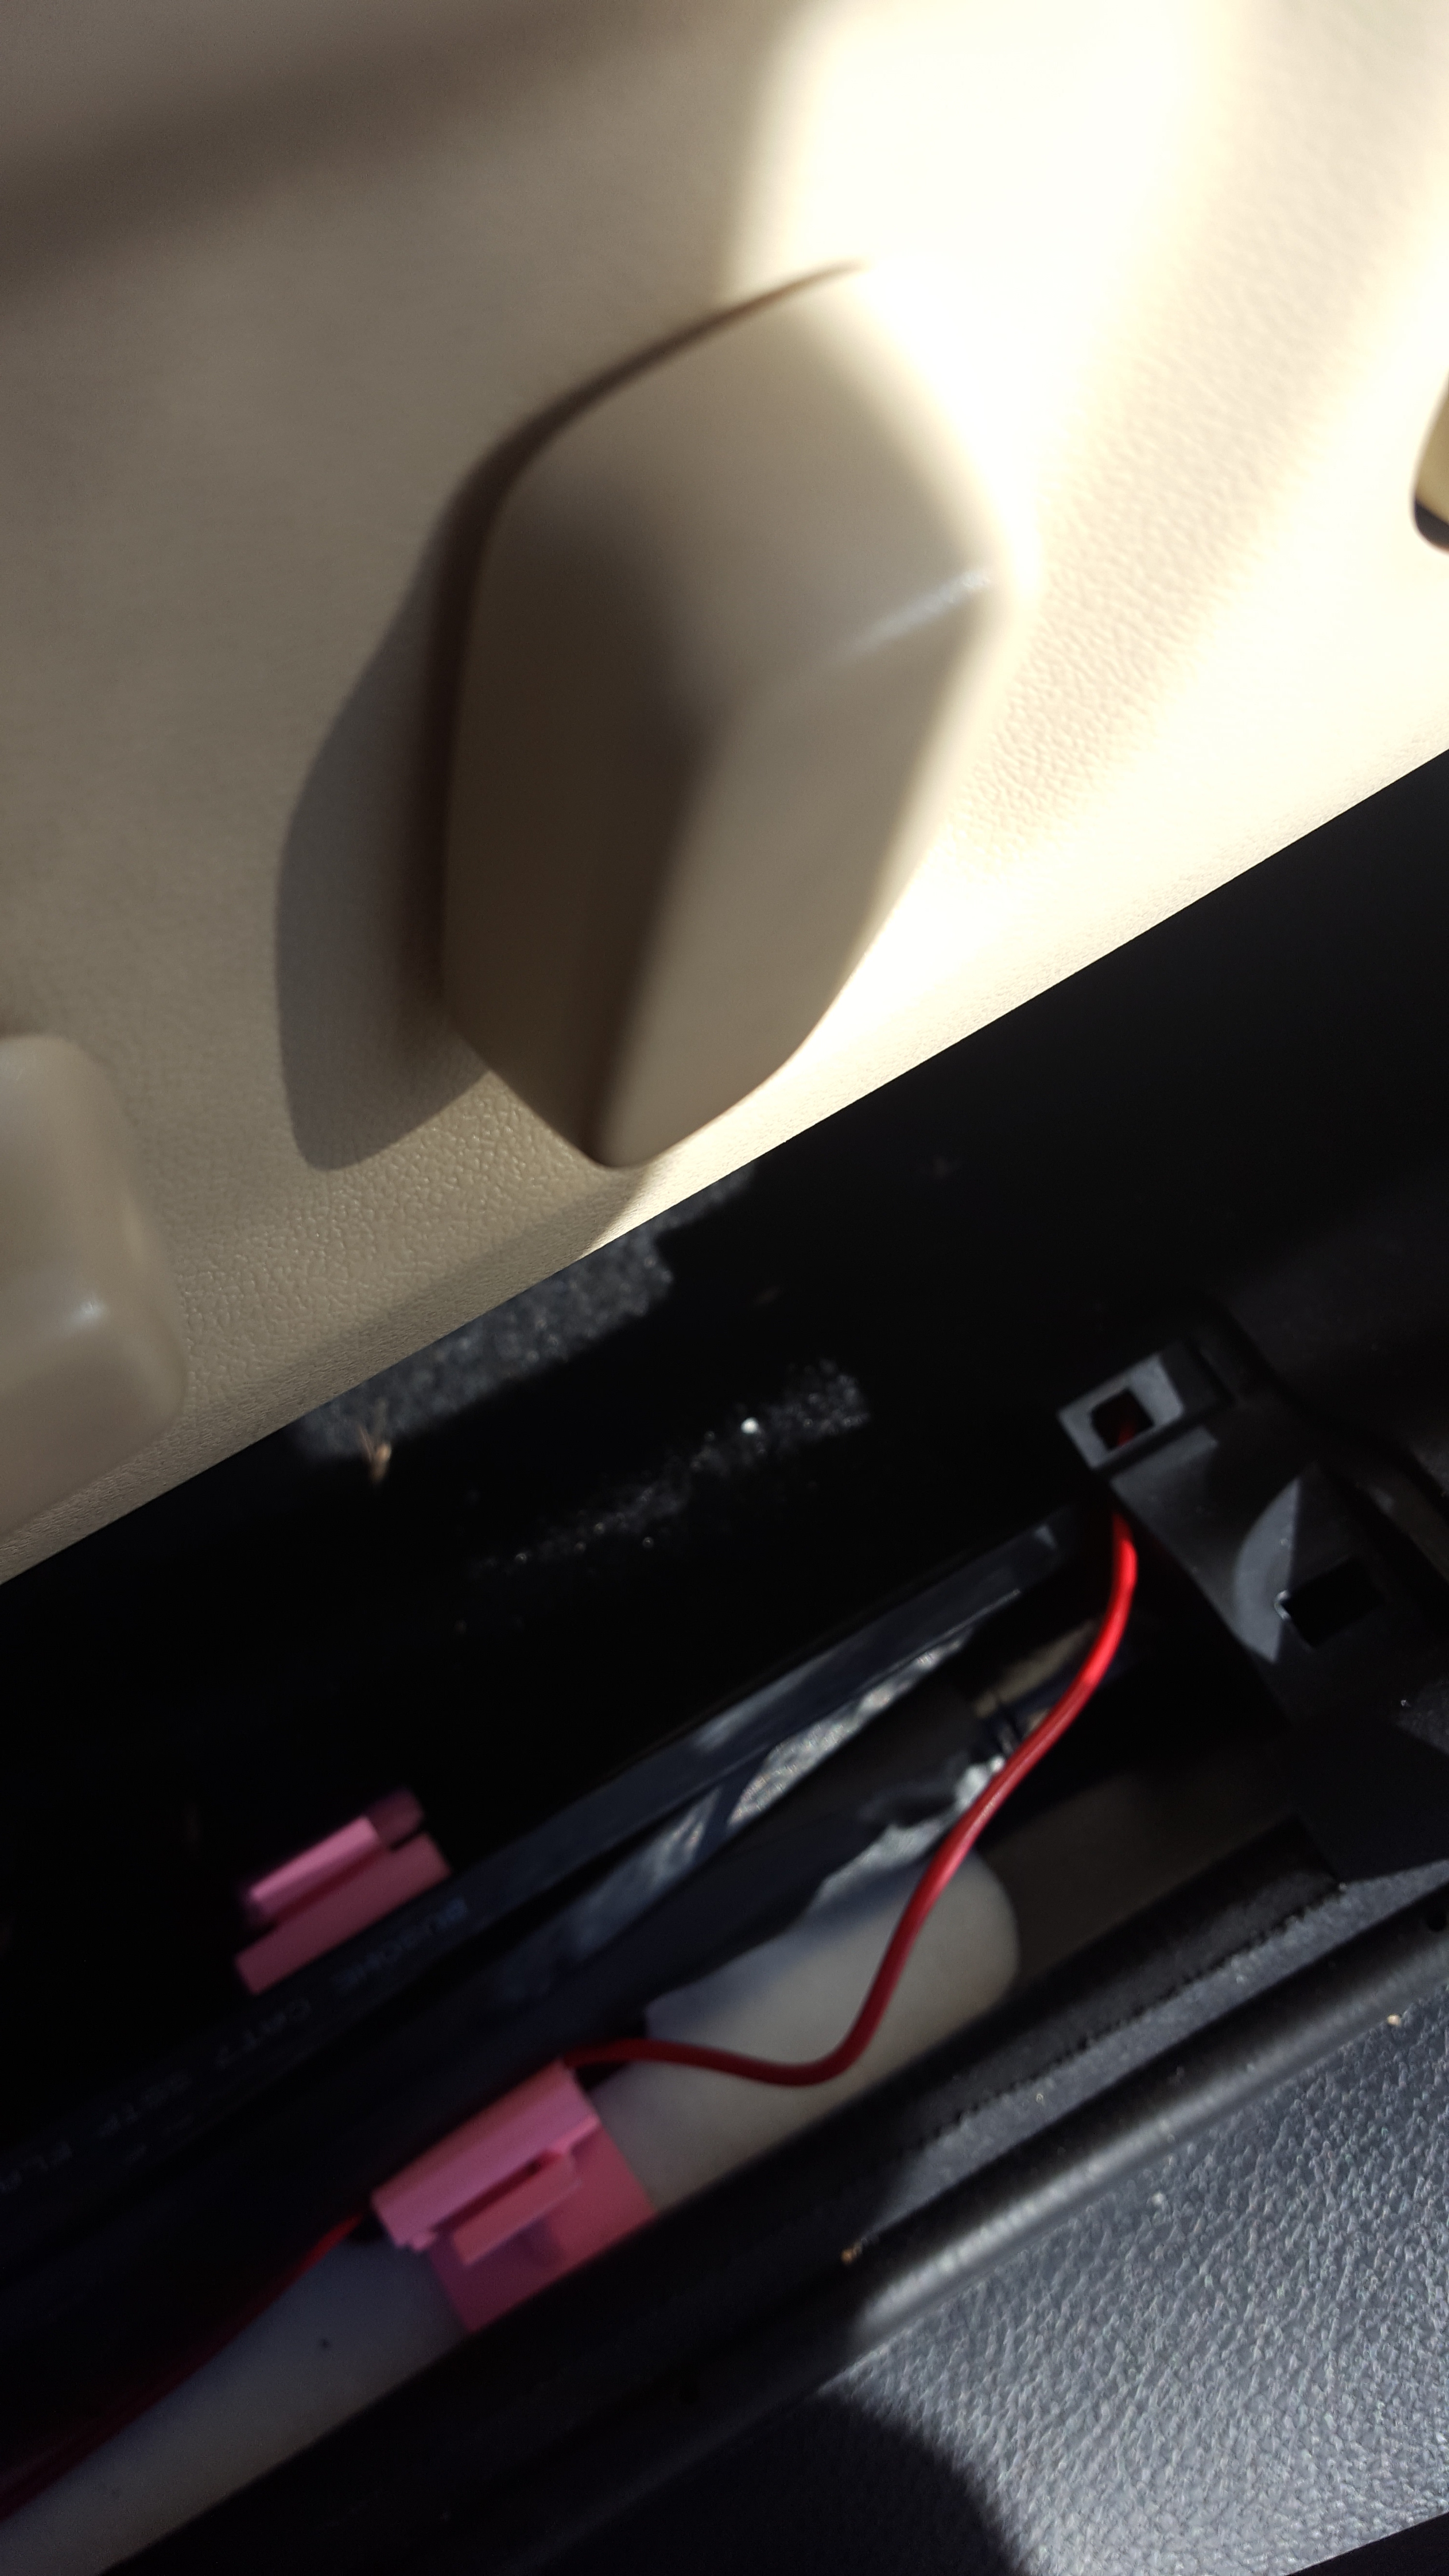
The first thing is to get the power systems installed into the vehicle. To do this I puchased this switch, a power distribution block, power taps, and a relay. I tapped the fuse for the stereo system, connected the switch to ground, and the positive down a wire to the back of the vehicle where it connects to a relay. This relay connects power directly from the battery through the power distribution system. The value is that everything in the car turns off automatically when the stereo isn’t in use, and it can also be manually turned off with the push of the button. The example of how it works as a circuit is below:
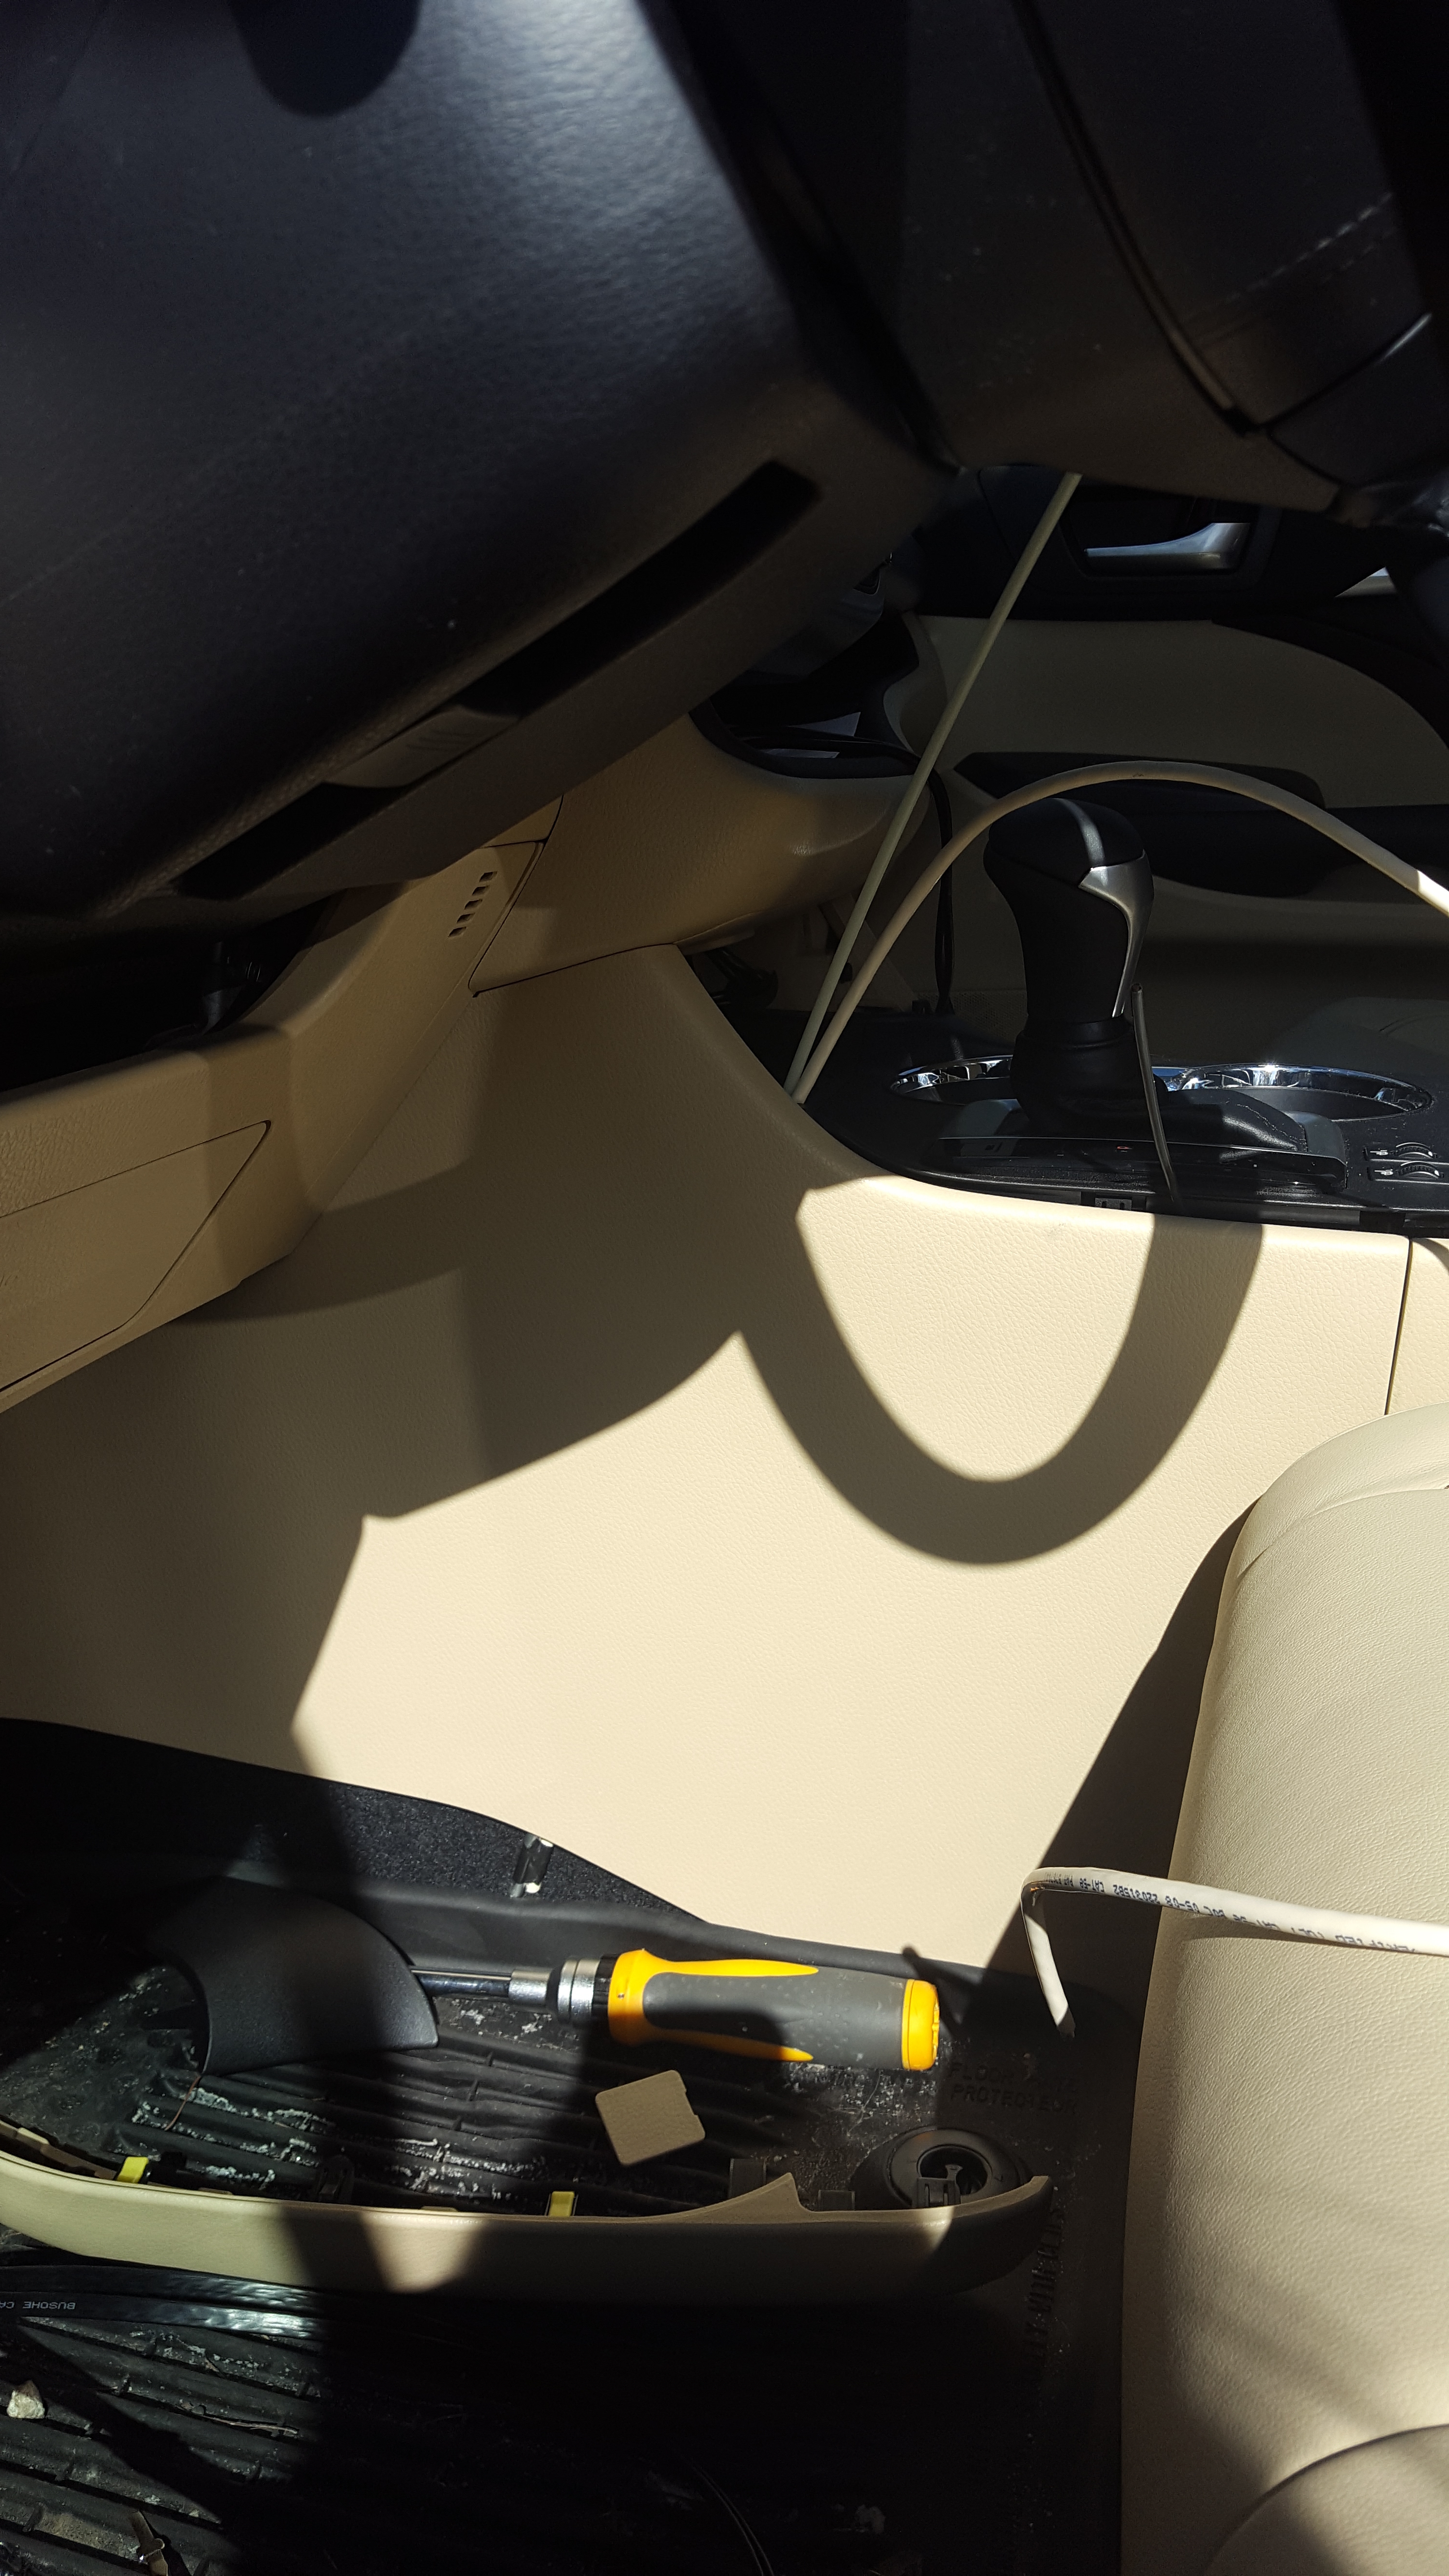
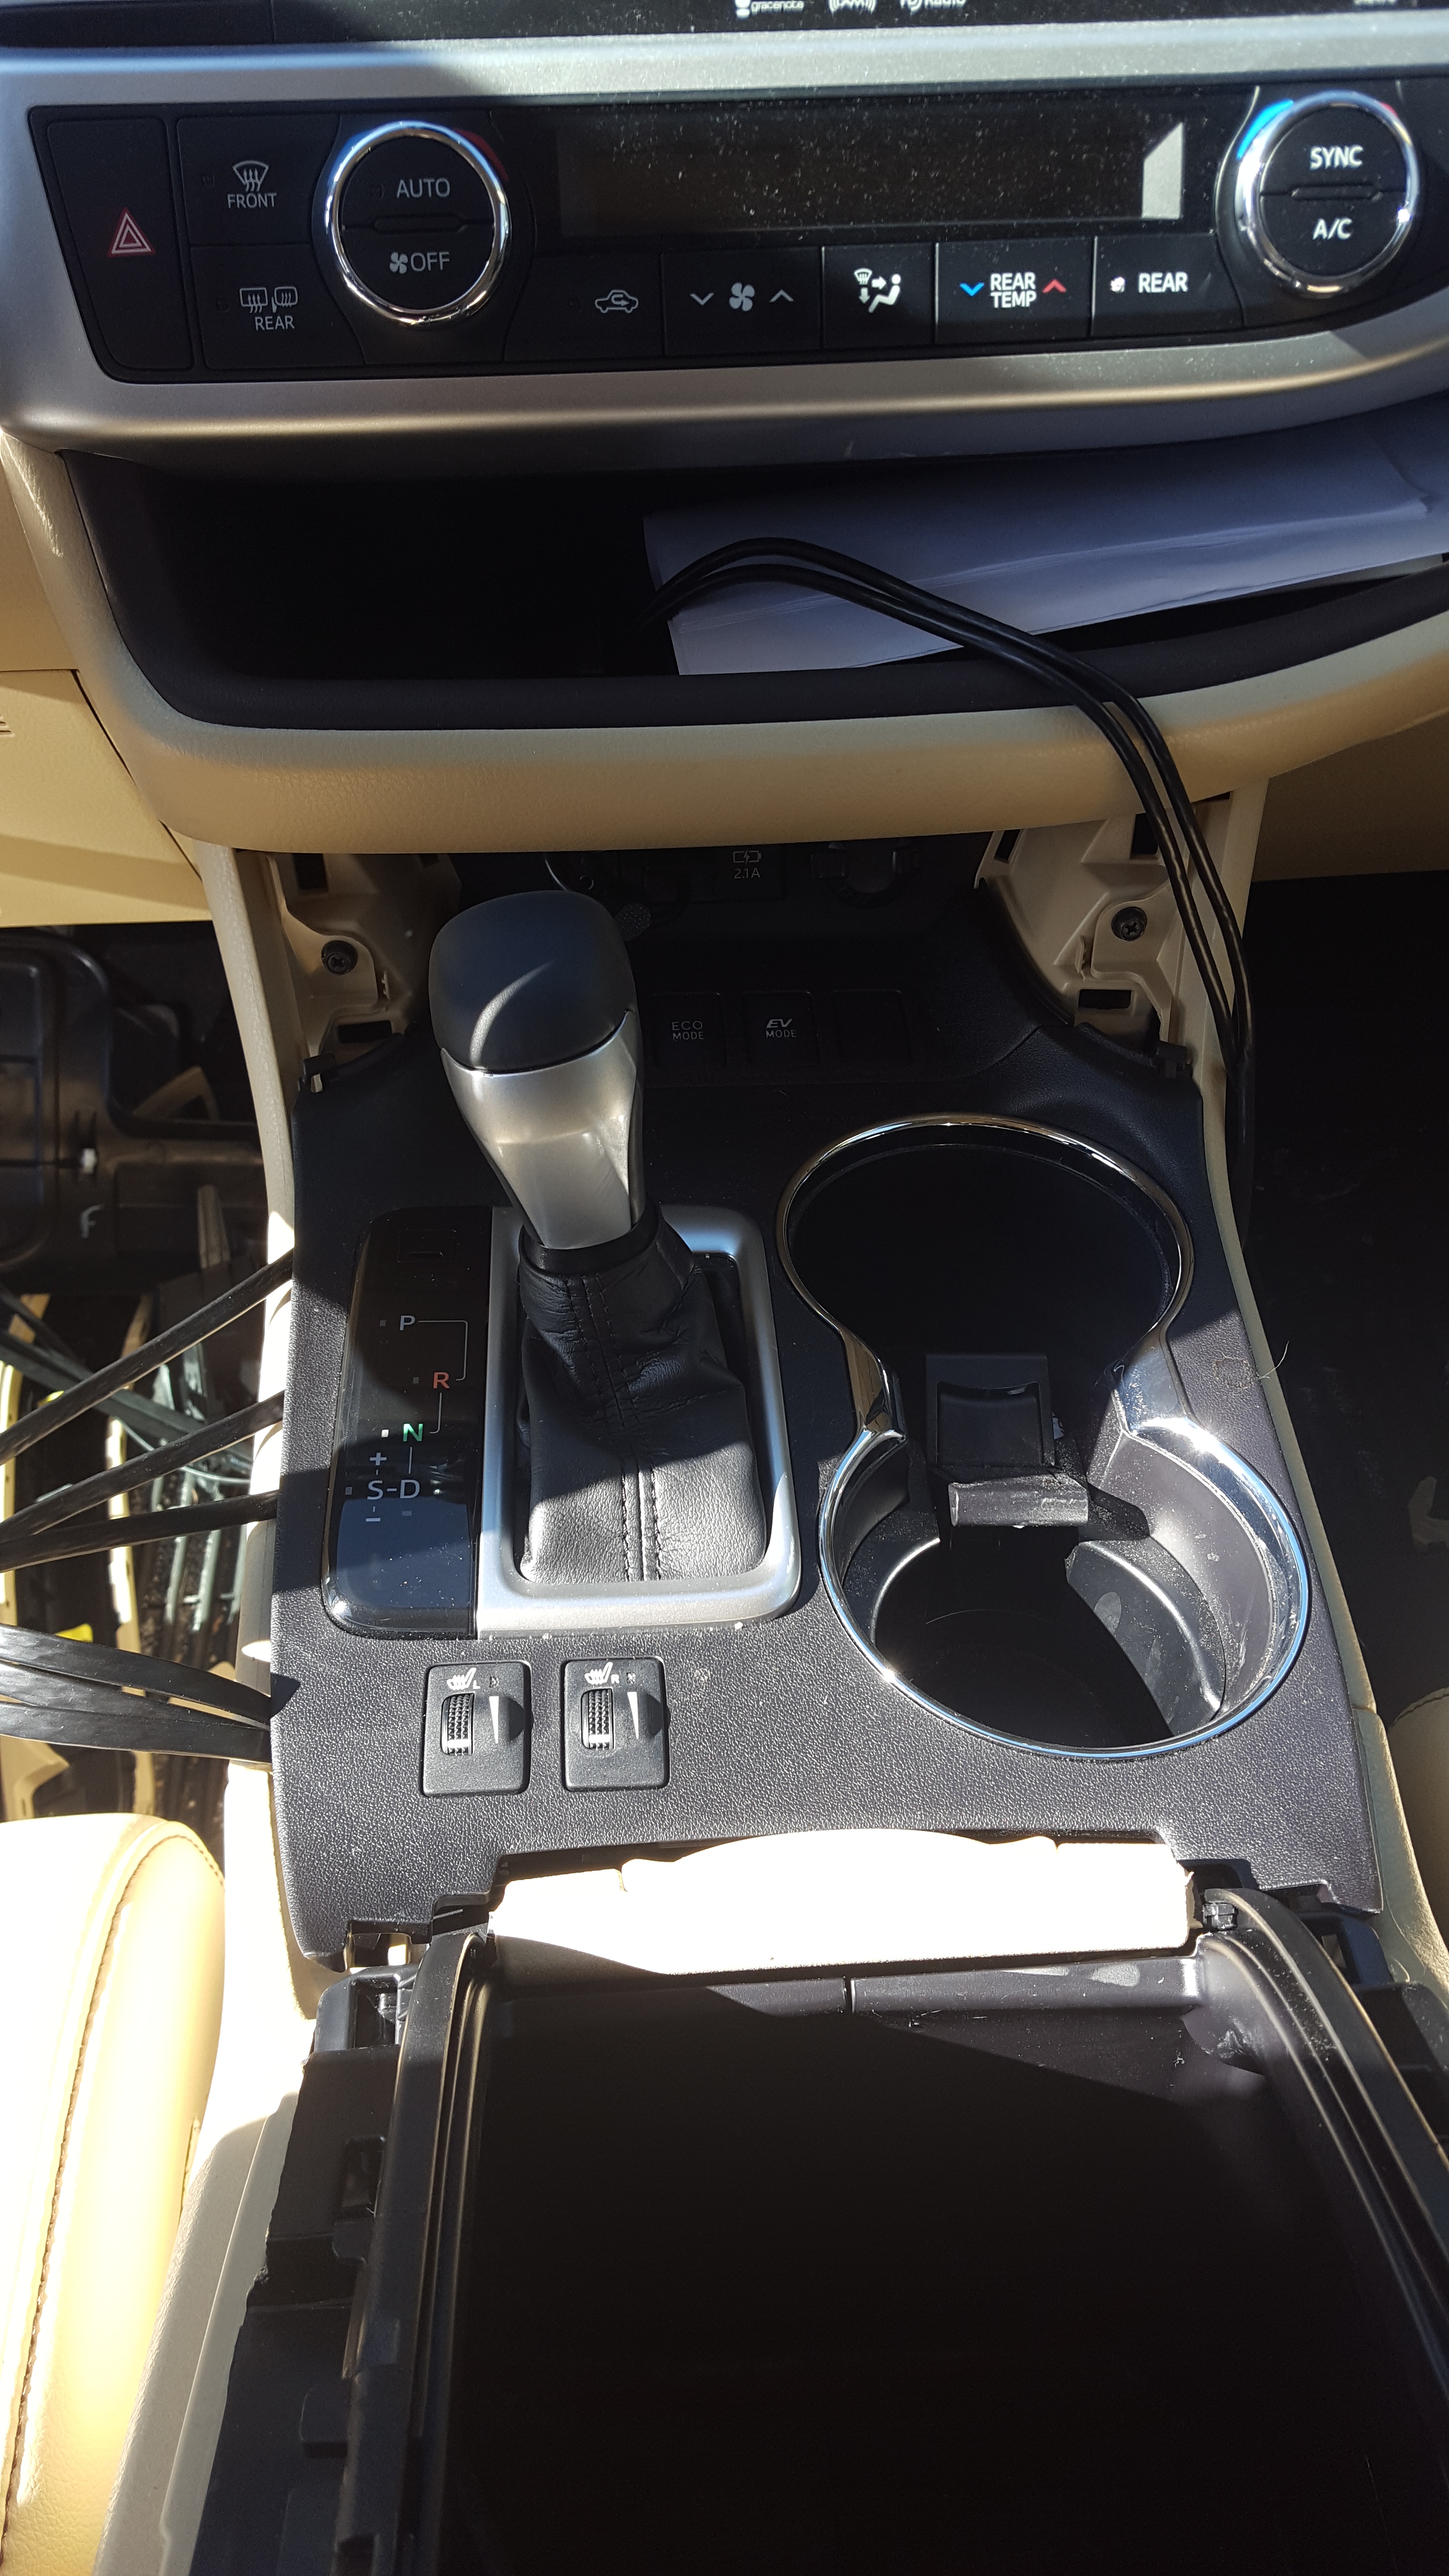
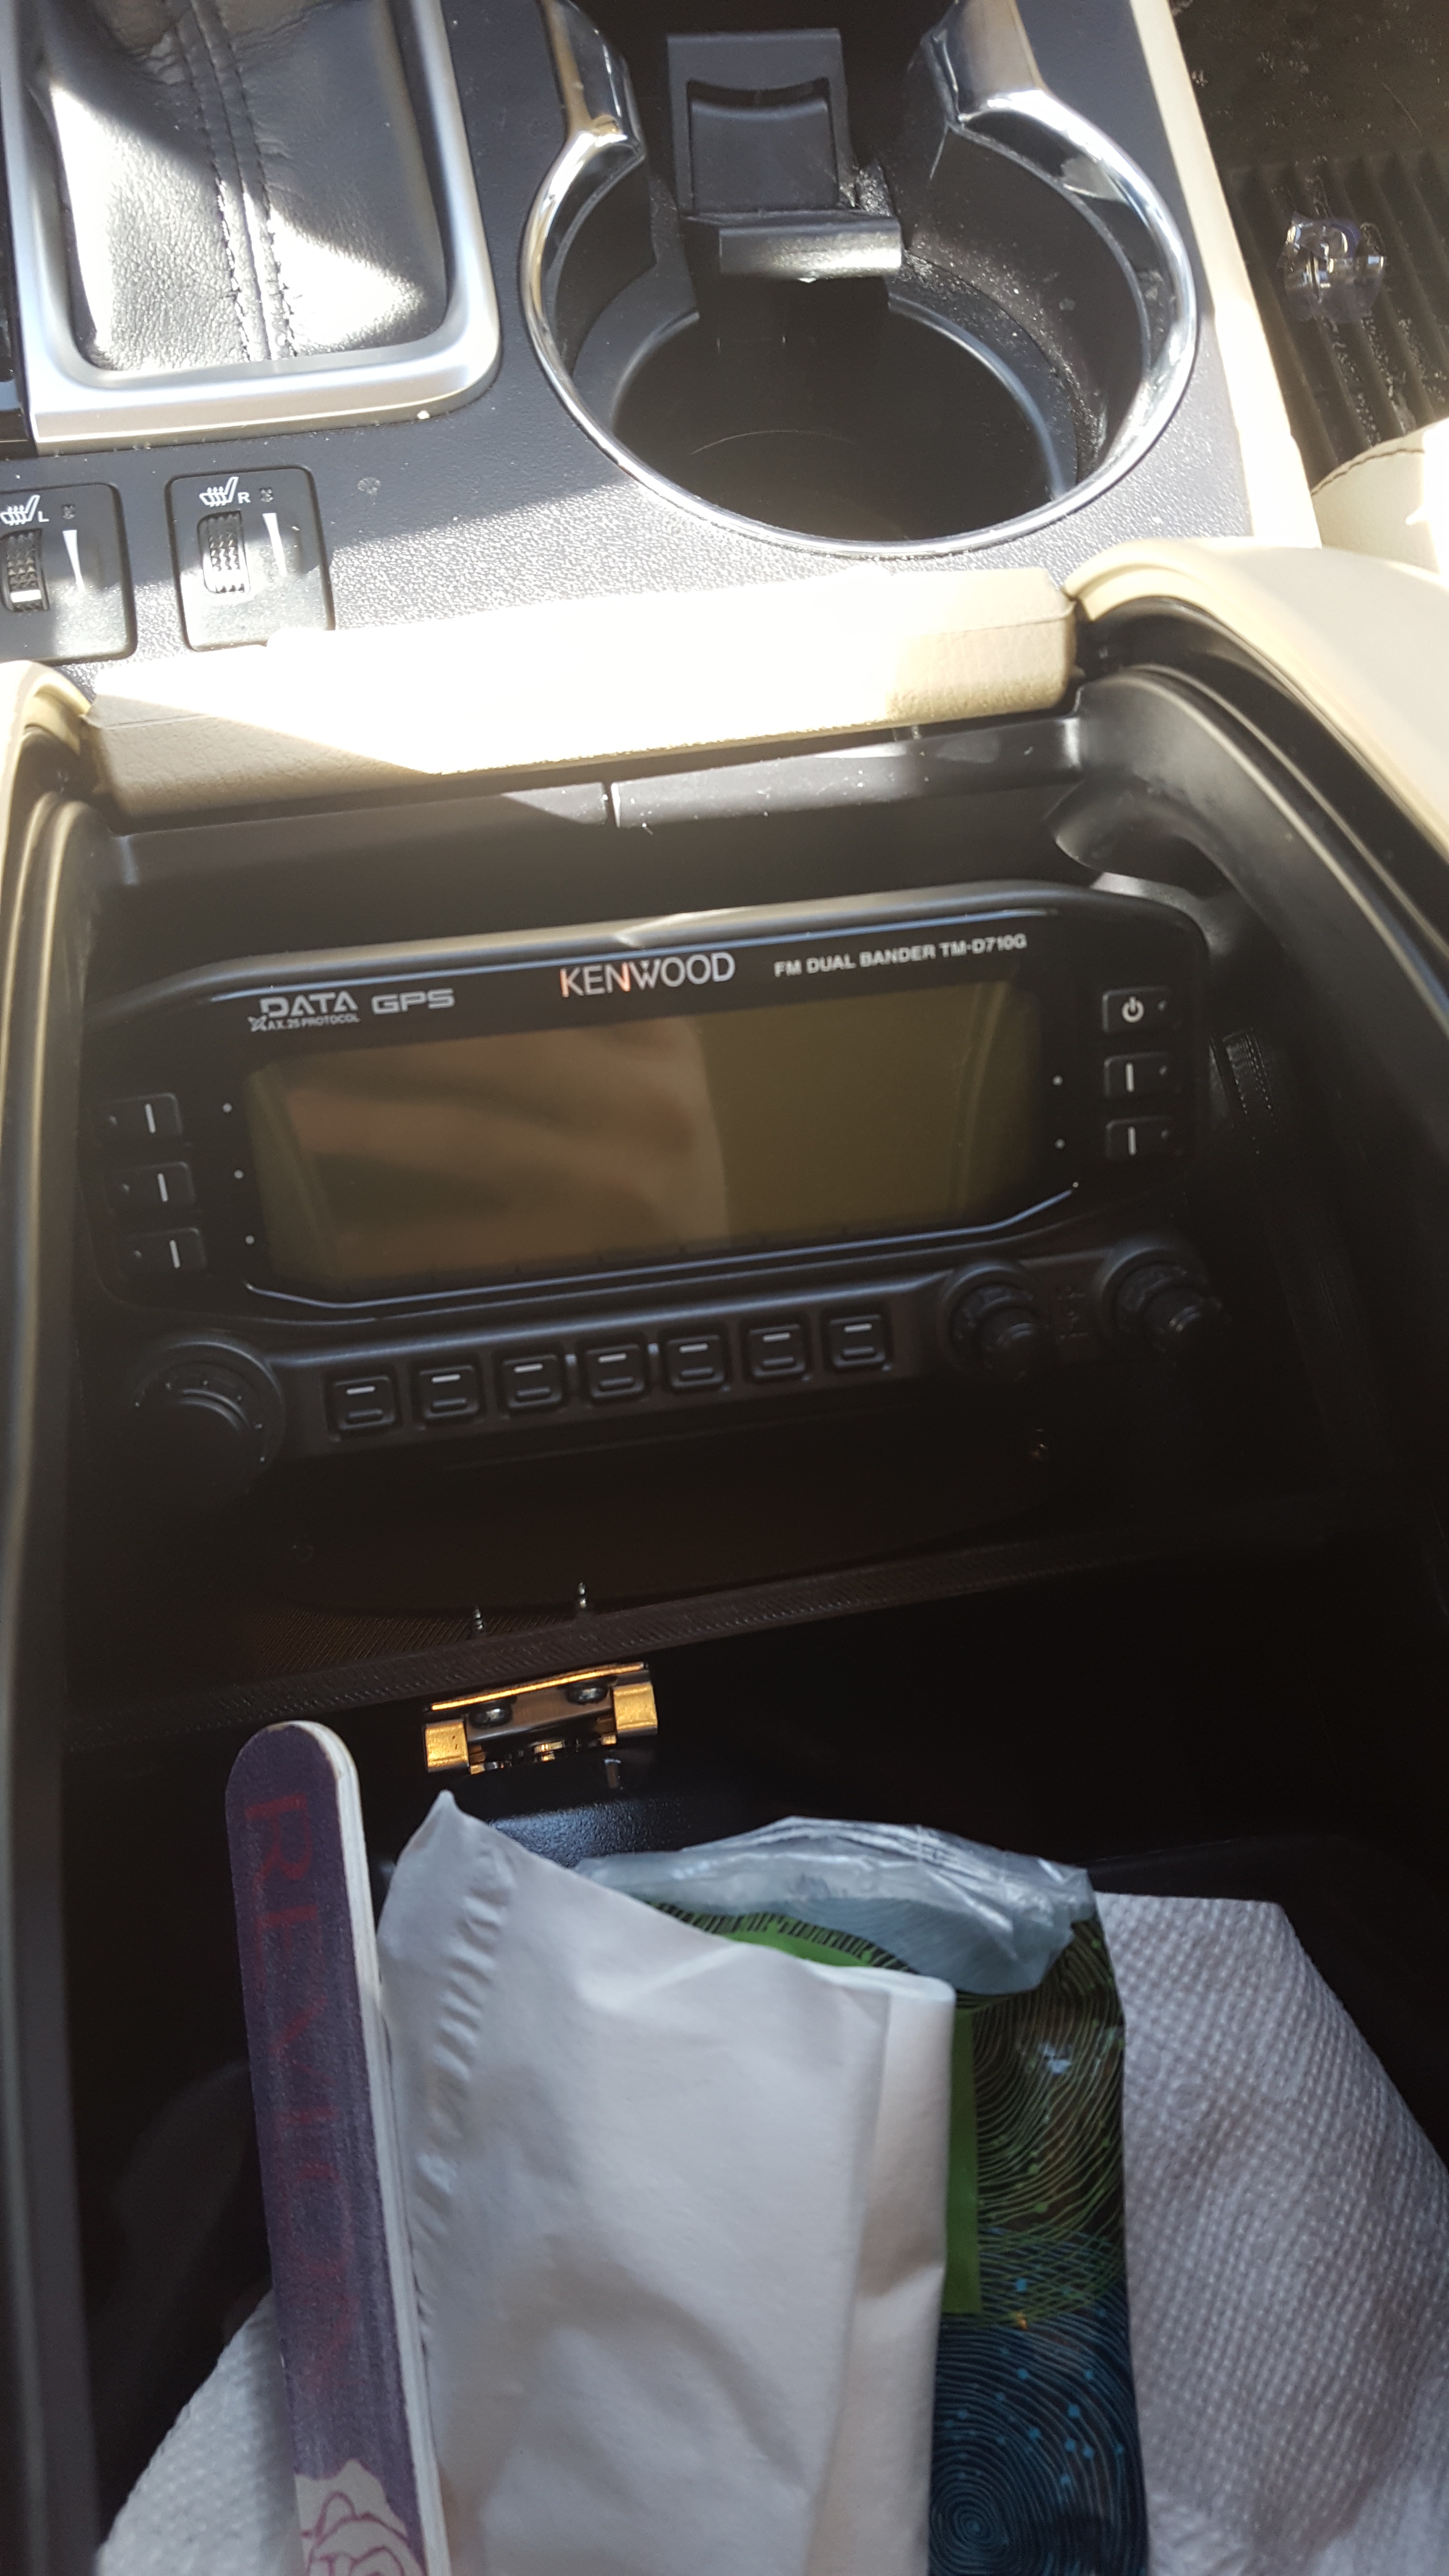
All said and done, here is what the install pictures looked like for this phase of the build:
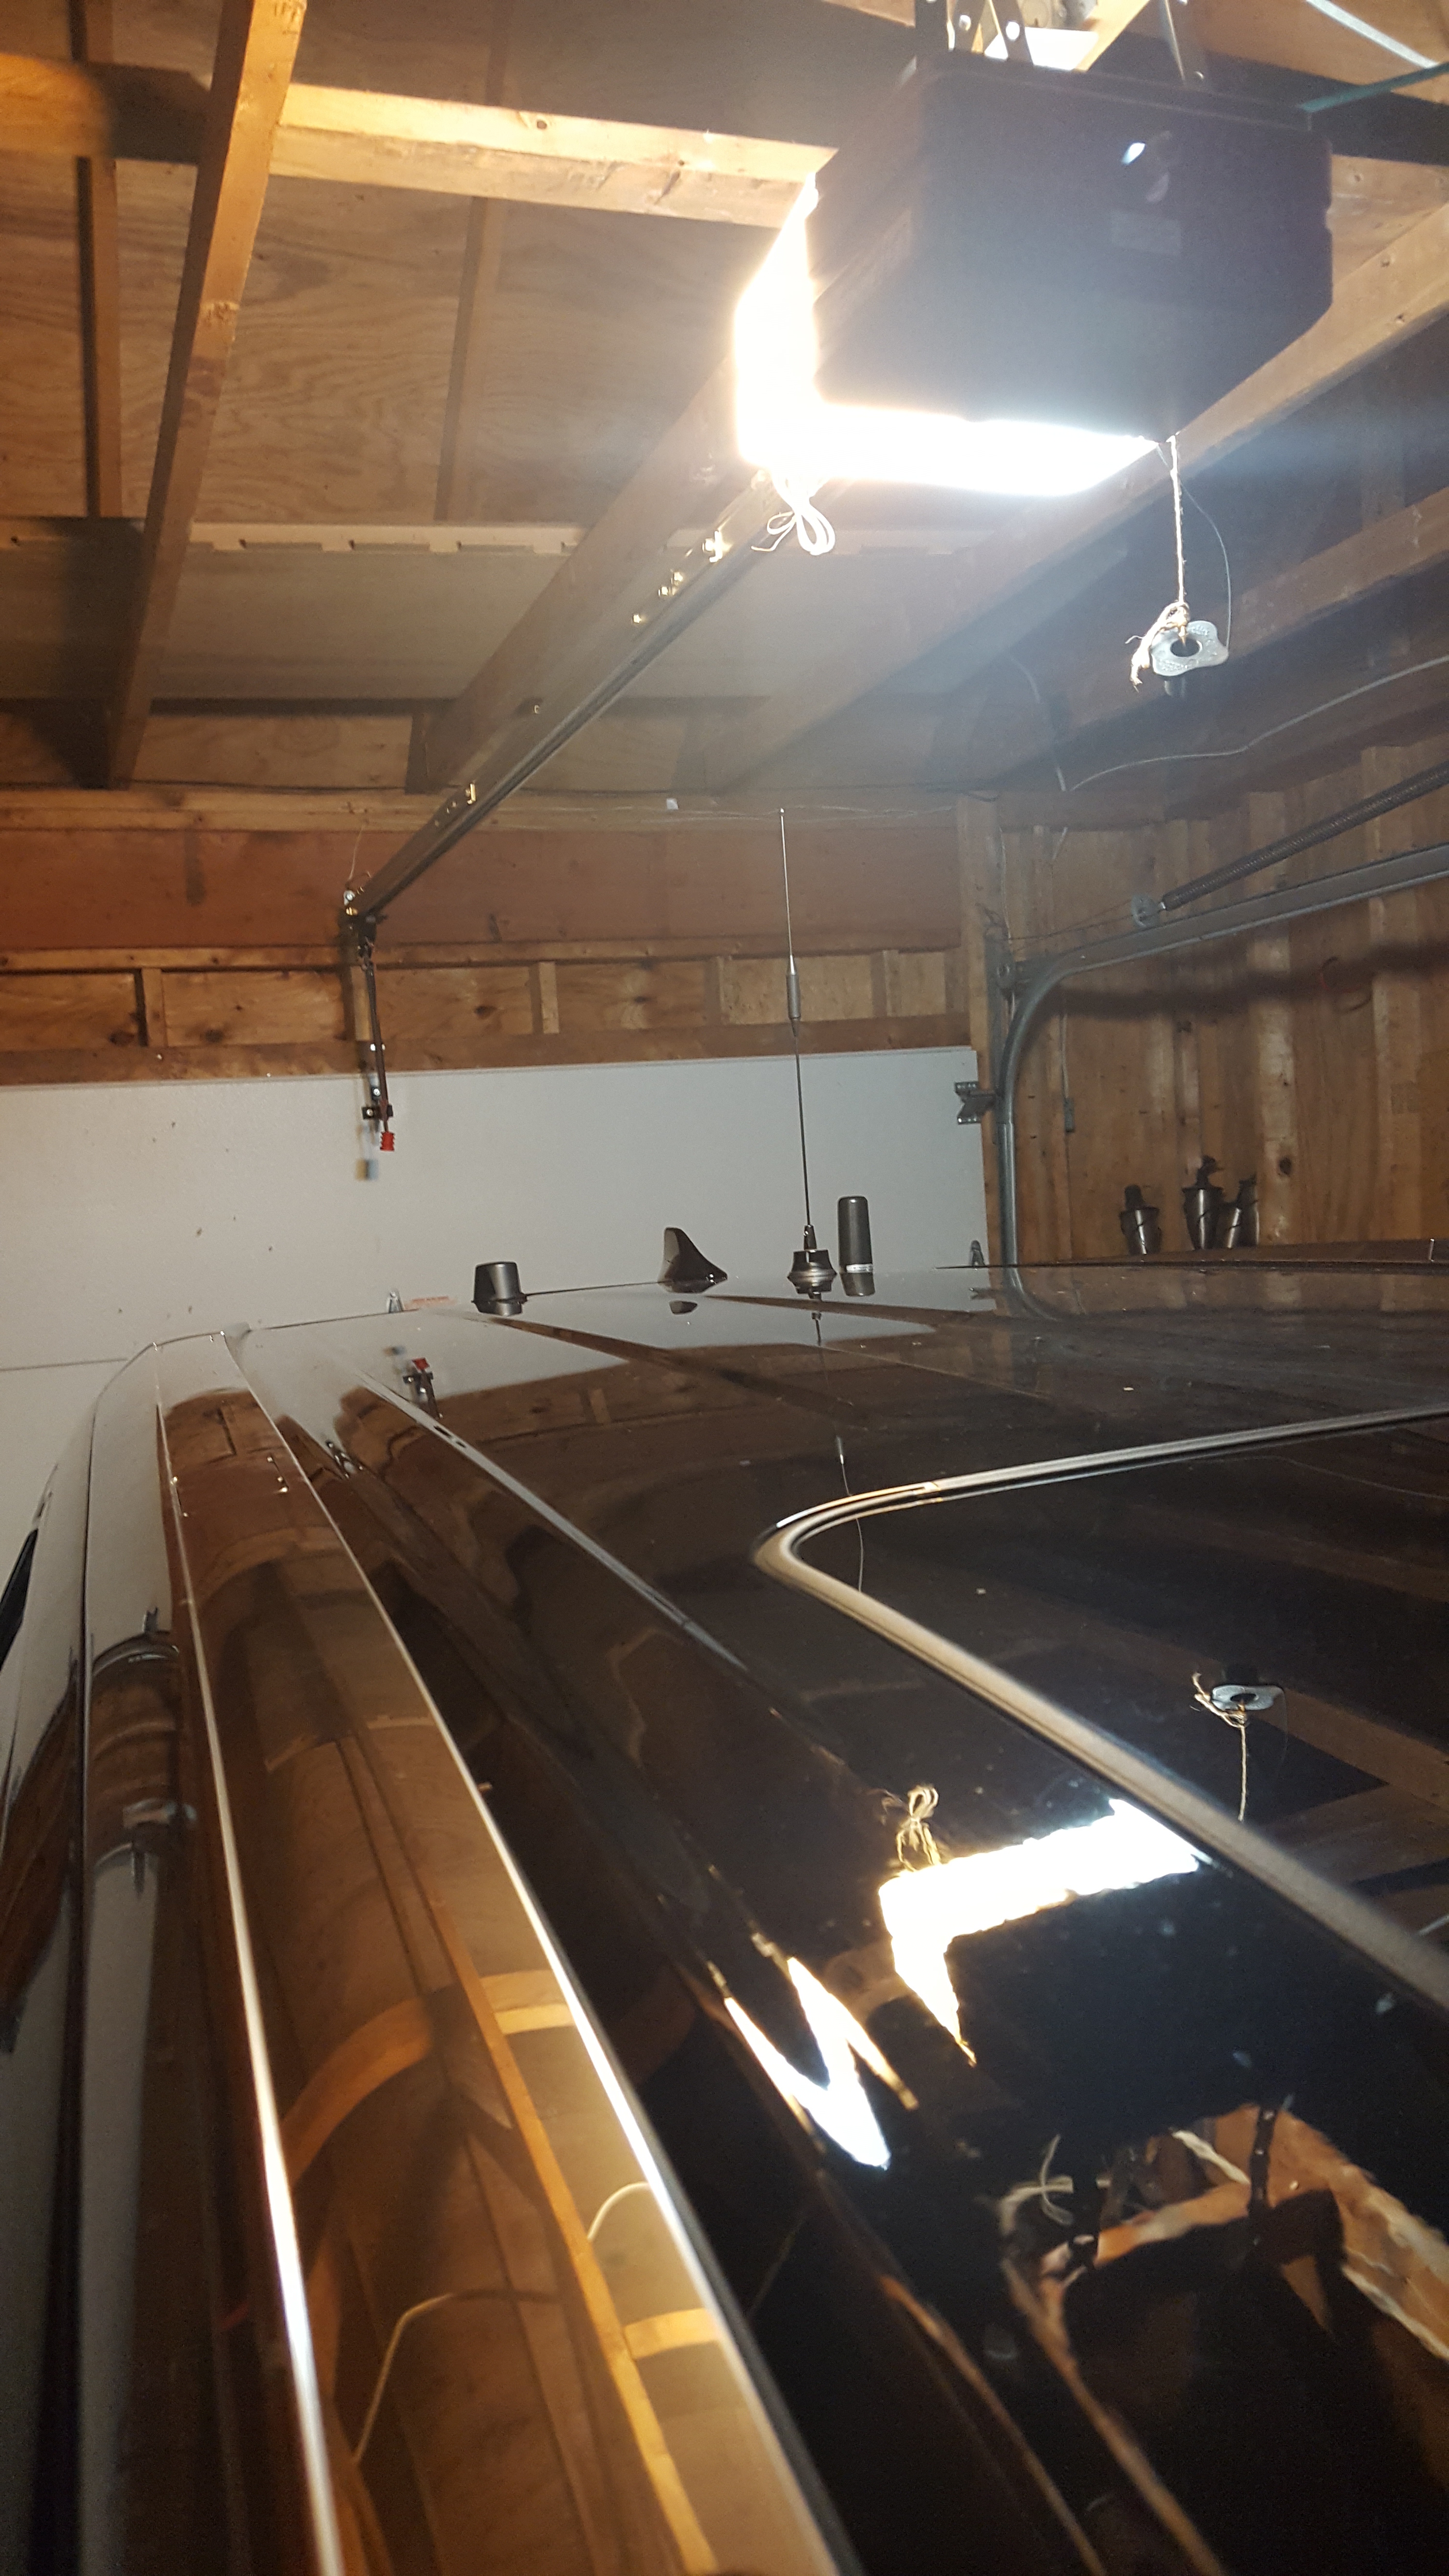
I then focused on getting my HAM radio equipment reinstalled, and prepping the foundation for a RaspberryPi in the front console. I first tested the layout for three NMO antennas, and then, well, poked holes in the roof.
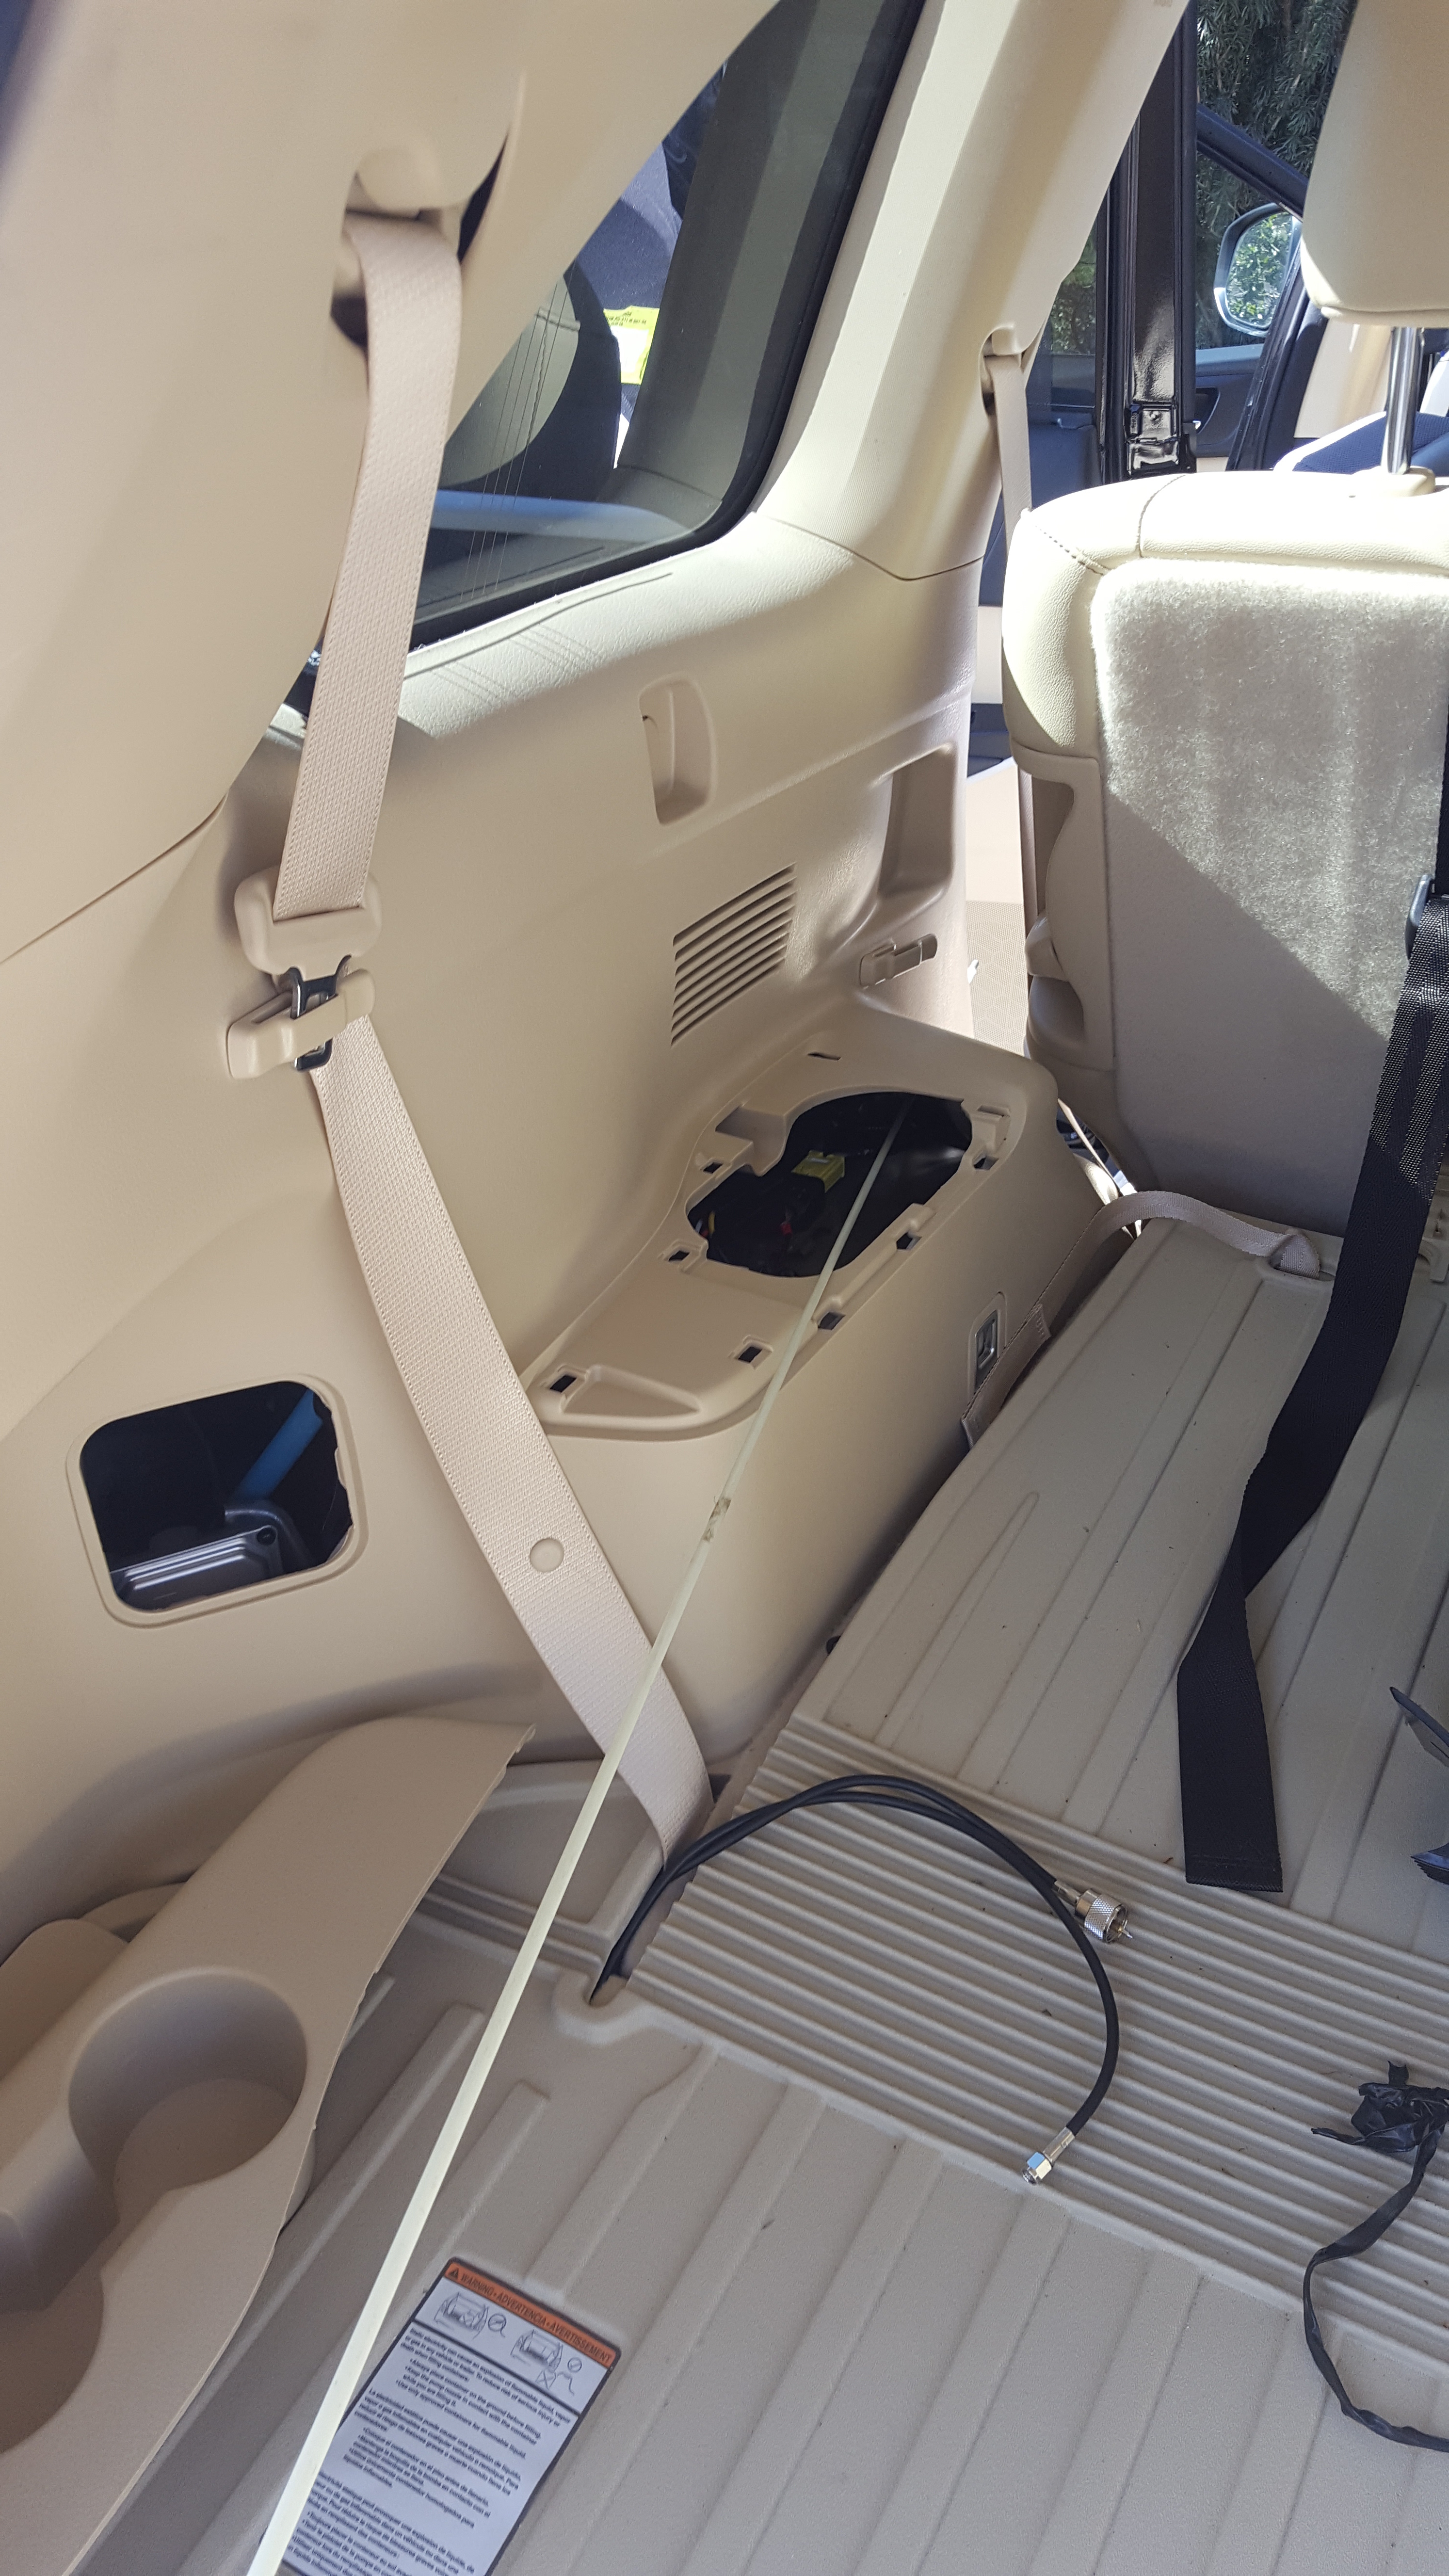
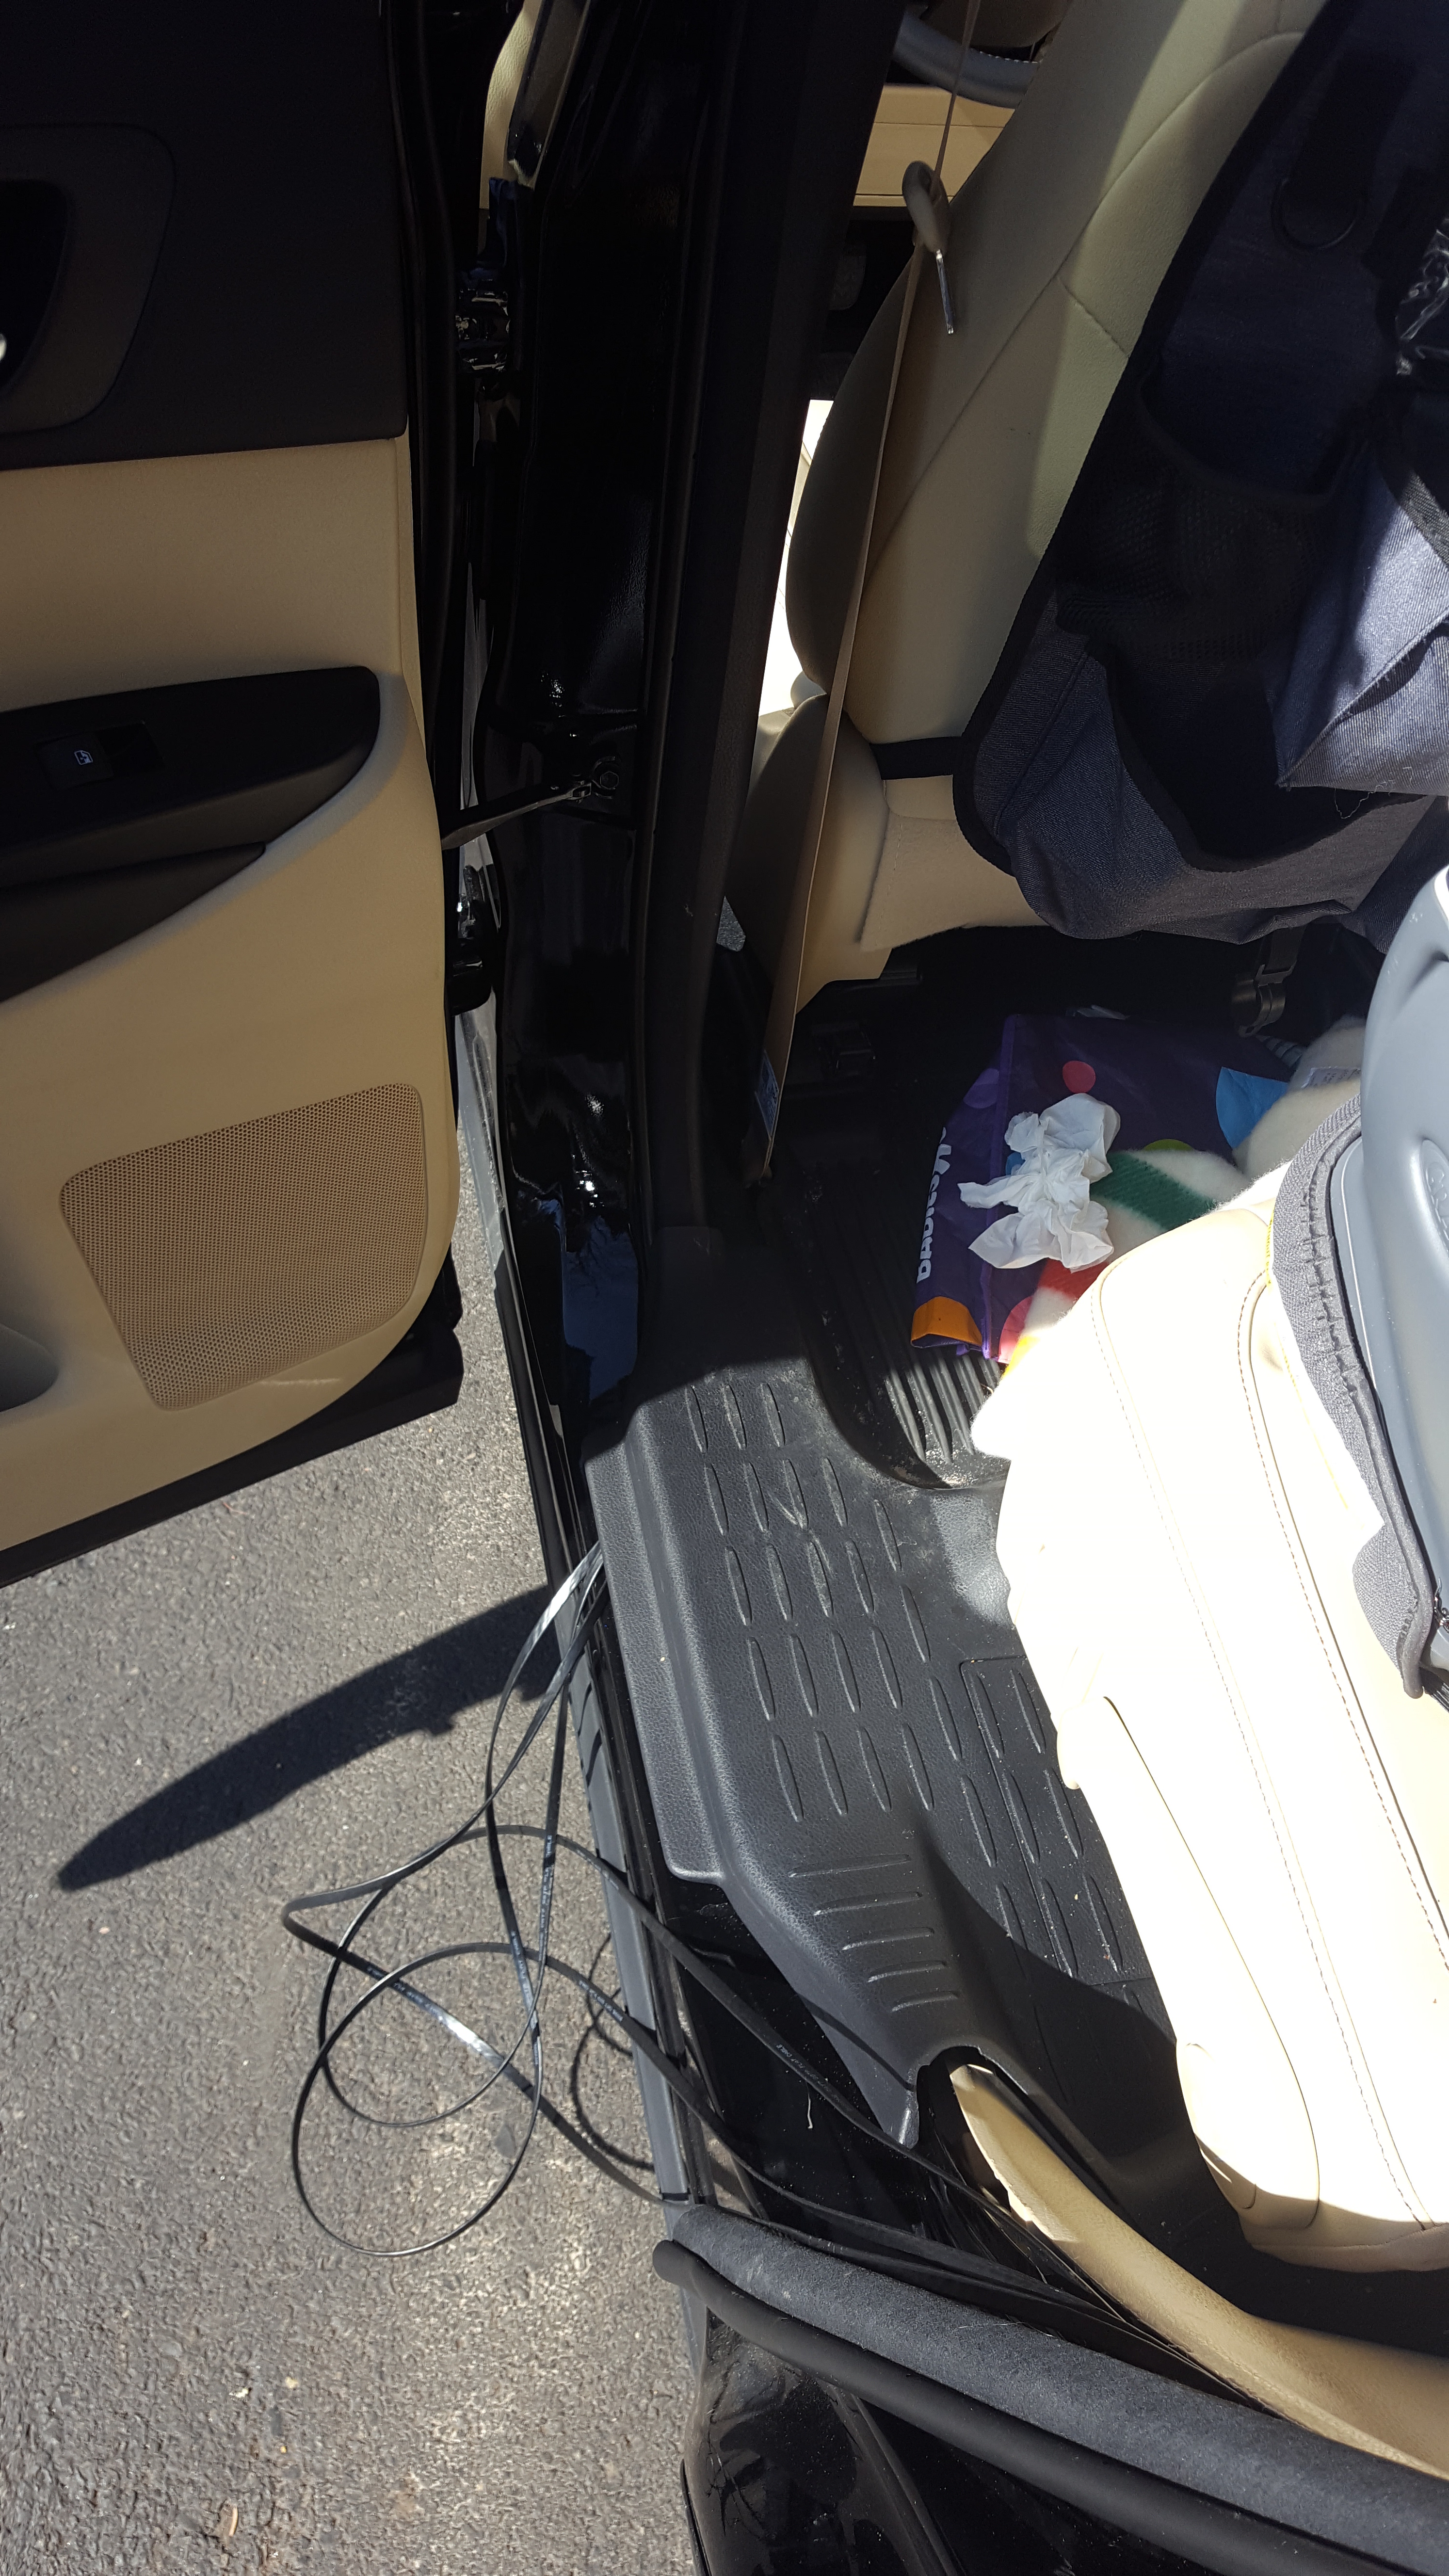
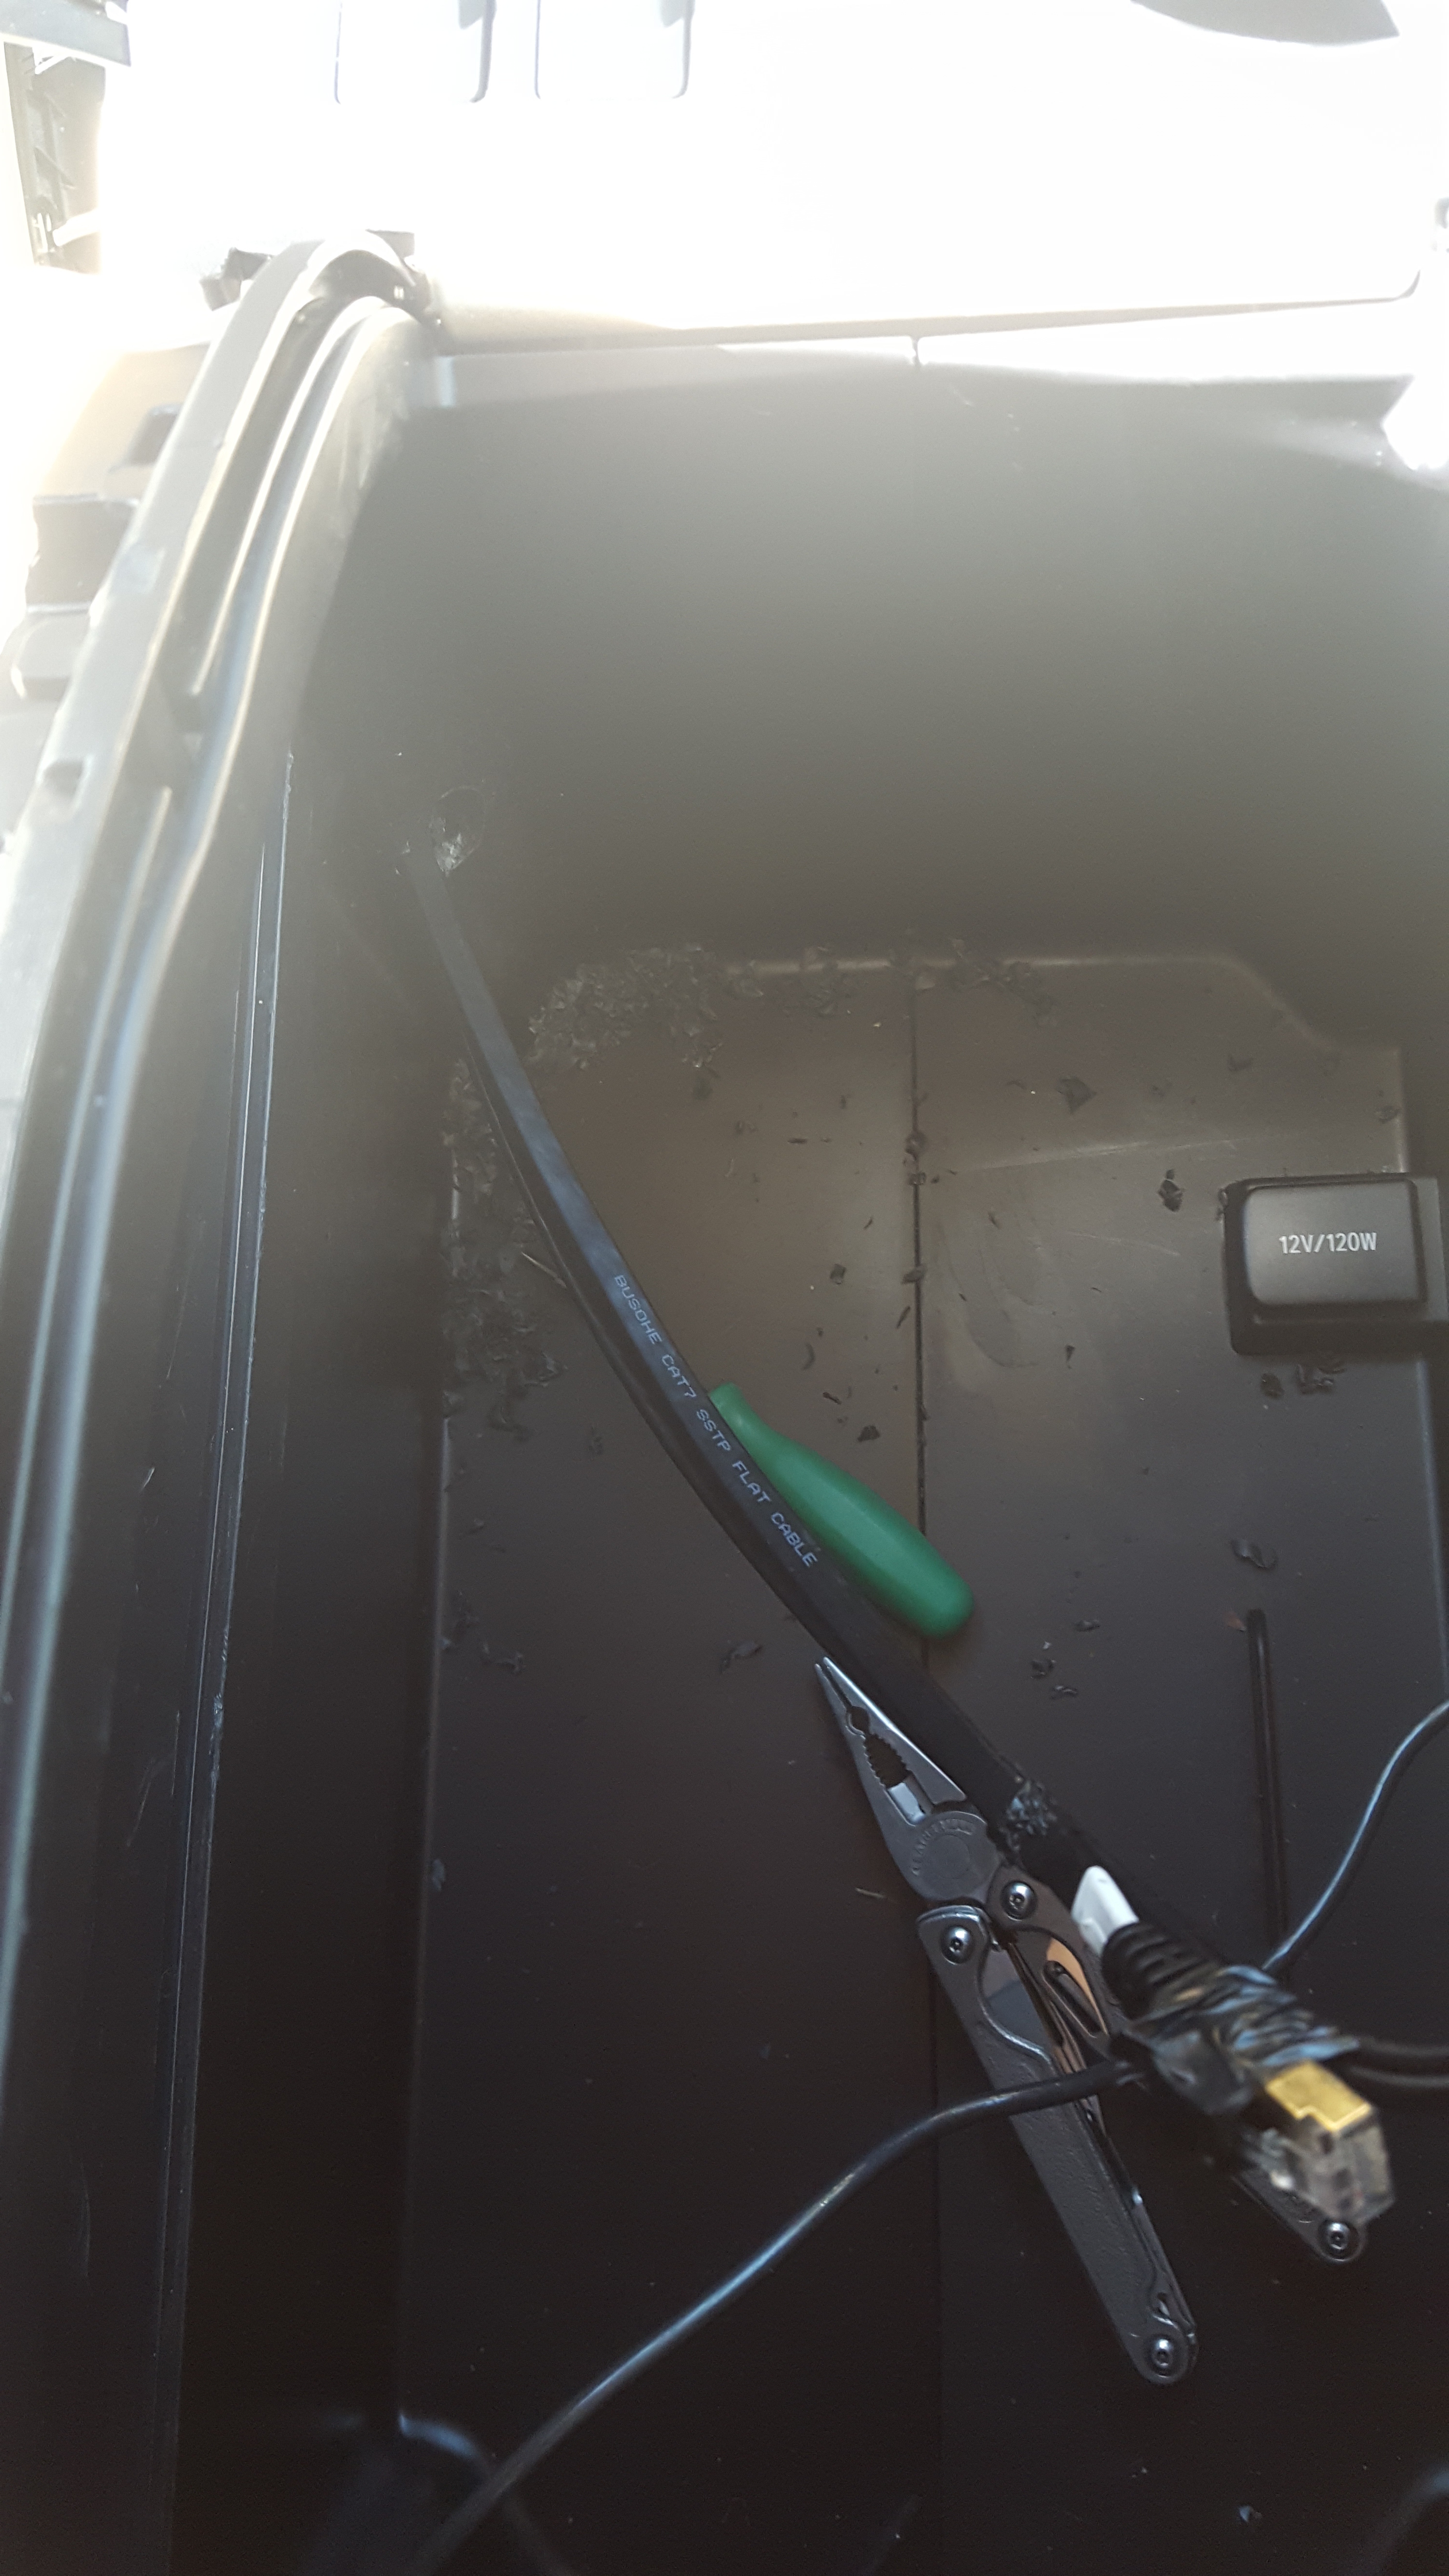
I ordered three 50 foot flat ethernet cables that would go from the trunk space to the front center console. Once I had the confidence to pull things apart, this exploratory process only took about an hour to complete.
Ⓒ 1997- Russell Handorf. All other copyrights and trademarks are the property of their respective owners.